Bountiful Broccoli

Broccoli is a beloved vegetable that graces dinner tables worldwide. It may seem like a challenging crop to grow, but cultivating broccoli in your garden can be a rewarding experience with the proper knowledge and care.

Broccoli comes in various shapes, sizes, and colors, so choosing a suitable variety for your garden is crucial. We carry Green Magic, Durapak, Destiny varieties here at the greenhouse. Consider your climate, available space, and taste preferences when selecting a variety.

Broccoli thrives in cool weather, making it an excellent choice for spring and fall gardens. It prefers full sun but can tolerate partial shade, especially in hotter regions. Ensure your soil is well-drained, fertile, and rich in organic matter. Aim for a soil pH between 6.0 and 7.0 for optimal growth.

Depending on your preference and growing season, broccoli can be grown from seeds or seedlings. Start seeds indoors 6-8 weeks before the last expected frost date, or sow them directly into the garden bed once the soil is workable. Space broccoli plants 18-24 inches apart to allow for proper airflow and growth.

Broccoli requires consistent moisture to thrive, so water regularly, especially during dry periods. Avoid overhead watering to prevent the development of fungal diseases. Mulch around the base of the plants to retain soil moisture and suppress weeds.

Fertilize broccoli plants with a balanced fertilizer high in nitrogen to promote healthy foliage growth. Monitor your plants for pests such as cabbage worms, aphids, and flea beetles. Handpick any pests or use organic insecticidal soap to keep them under control.

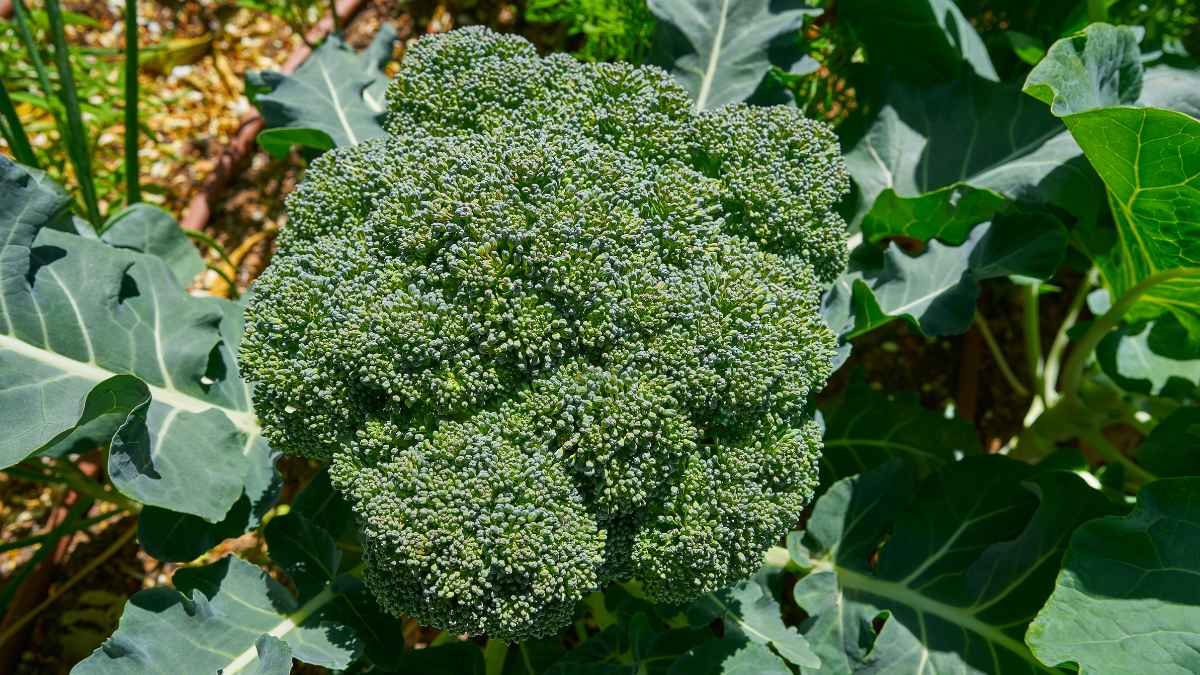
Knowing when to harvest broccoli is crucial for optimal flavor and texture. Harvest broccoli heads when they are firm, dark green, and tightly packed, typically 60-90 days after planting. Use a sharp knife to cut the main head just below the florets, leaving the plant intact to produce side shoots for later harvests.

Once harvested, broccoli can be enjoyed in a variety of delicious dishes. Steam or roast broccoli florets as a simple side dish, add them to stir-fries, soups, or salads, or incorporate them into casseroles and pasta dishes. Broccoli is delicious and packed with vitamins, minerals, and antioxidants, making it a nutritious addition to any meal.

Visit our blog for more tasty recipes and gardening tidbits!

Growing Kale at Home

Kale has become a staple in many kitchens and gardens due to its vibrant leaves and powerhouse nutrients. Whether you’re a seasoned gardener or just starting out, cultivating kale in your garden is a rewarding experience that offers beauty and nutrition. In this guide, we’ll walk you through everything you need to know about growing kale successfully.

Before planting, consider the kale variety that suits your taste preferences and growing conditions. At Back Home on the Farm, varieties include Rainbow Candy Crush, Prizm, Kalebration, and Winterbor. Each variety provides a unique flavor profile and visual appeal, so choose one that best suits your culinary and aesthetic preferences.

Kale thrives in cool weather, making it an excellent choice for spring and fall gardens. It prefers full sun but can tolerate partial shade, especially in hotter climates. Ensure that your soil is well-drained and rich in organic matter. Aim for a soil pH between 6.0 and 7.5 for optimal growth.

Plant kale seeds directly into the garden bed or start with seedlings for a head start. Sow seeds 1/4 to 1/2 inch deep, spacing them 12 to 18 inches apart. If transplanting seedlings, space them similarly. Water the seeds or seedlings thoroughly after planting to help establish their roots.

Kale is relatively low-maintenance but benefits from regular watering, especially during dry spells. Keep the soil moist, but avoid overwatering, as kale roots can rot in waterlogged soil. Mulching around the plants can help retain moisture and suppress weeds.

Fertilize kale plants with a balanced fertilizer once a month to promote healthy growth. Monitor plants for pests such as aphids, cabbage worms, and flea beetles. Handpick any pests or use organic insecticidal soap to keep them at bay.

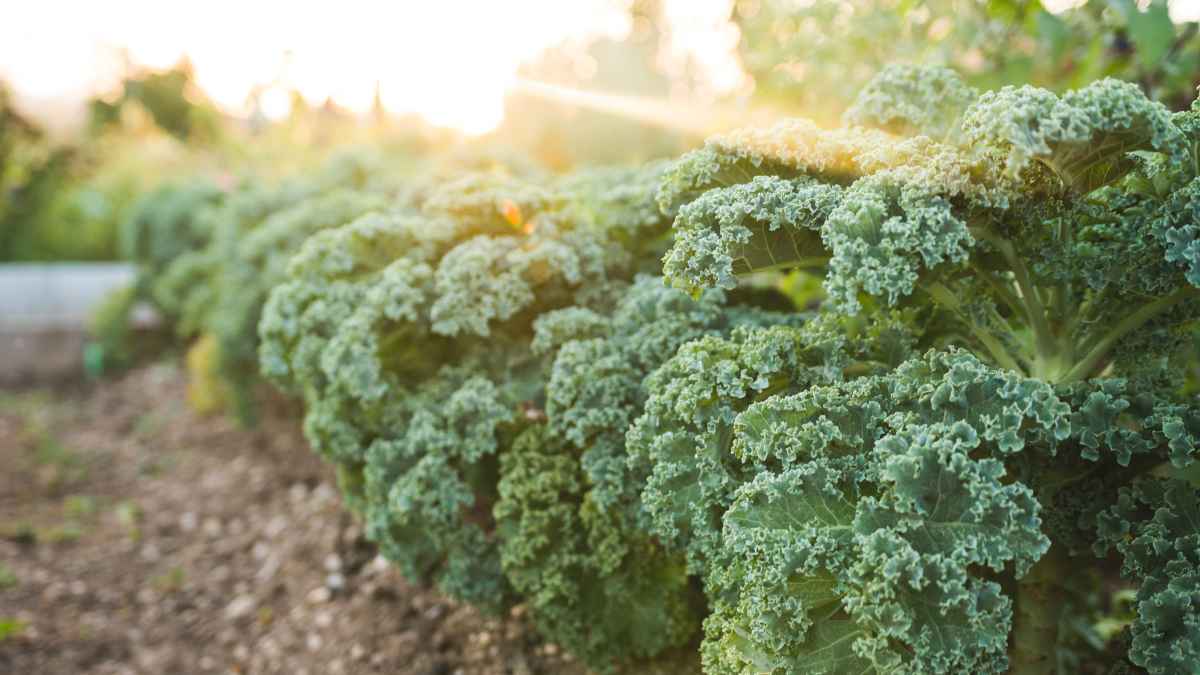
One of the best things about growing kale is its continual harvest. Begin harvesting outer leaves when they reach your desired size, typically around 8 to 10 inches long. Use a sharp knife or scissors to cut the leaves above the central stem. Regular harvesting encourages new growth and prolongs the harvest period.

Once you’ve harvested your kale, it’s time to enjoy its nutritional benefits in various culinary delights. Add fresh kale leaves to salads, sauté them with garlic and olive oil, or blend them into smoothies for a nutritious boost. You can also preserve kale by blanching and freezing it for later use.

Visit our blog for more tasty recipes and gardening tidbits!
Pumpkin White Hot Chocolate

Sip Into Fall with Pumpkin White Hot Chocolate

As the leaves turn golden and the air carries a slight chill, it’s time to welcome the cozy flavors of fall. Ditch the high prices at the coffee shop and opt for a homemade experience that won’t break the bank. The Pumpkin White Hot Chocolate recipe is easy to make. With just a handful of ingredients, you can create a decadent treat that rivals any professional barista’s creation.

What you need:

  • Pumpkin Purée
  • Pumpkin pie spice
  • Cinnamon sugar
  • Vanilla extract
  • White Chocolate Chips
  • Milk
  • Heavy Cream
  • Whipped Cream (optional)

Directions:

  1. In a medium saucepan, combine the pumpkin purée, pumpkin pie spice, vanilla extract, milk, and heavy cream.
  2. Stir until the ingredients are well mixed and heat the mixture over medium heat.
  3. Once the mixture starts to boil, add in the white chocolate chips.
  4. Stir until the white chocolate has completely melted.
  5. Pour mixture into your favorite mug, top with a dollop of whipped cream, a sprinkle of cinnamon sugar, and enjoy!

Visit our blog for more tasty recipes!

Pumpkin Whoopie Pies

Try This Decadent Fall Treat!

As the leaves begin to turn and the crisp autumn breeze fills the air, it’s time to indulge in the comforting flavors of fall. What better way to celebrate the season than with Pumpkin Whoopie Pies? These delightful sandwich cookies combine the warmth of pumpkin with the tangy goodness of cream cheese frosting. Whether you’re a pumpkin enthusiast or simply seeking a scrumptious treat, these whoopie pies are sure to become a family favorite. Let’s dive into how to create these irresistible pumpkin delights!

What Are Whoopie Pies? Whoopie pies are a delightful dessert originating from the Northeastern United States. They consist of two soft, cake-like cookies that sandwich a luscious layer of frosting. The result is a portable, hand-held treat that’s as fun to make as it is to eat!

You Will Need:

  • 2 cups all-purpose flour
  • 1 teaspoon baking powder
  • 1/2 teaspoon baking soda
  • 1/2 teaspoon salt
  • 1 teaspoon ground cinnamon
  • 1/2 teaspoon ground ginger
  • 1/4 teaspoon ground cloves
  • 2 large eggs
  • 1 cup brown sugar (packed)
  • 1/2 cup canola oil (or vegetable oil)
  • 1 cup pumpkin puree (not pumpkin pie filling)

Cream Cheese Filling:

  • 8 oz cream cheese (softened)
  • 1/4 cup unsalted butter (softened)
  • 2 cups powdered sugar
  • 1 teaspoon vanilla extract

Instructions:

1. Preparing the Pumpkin Cookies:

  • Preheat your oven to 350°F (175°C) and line baking sheets with parchment paper.
  • In a medium bowl, whisk together the flour, baking powder, baking soda, salt, cinnamon, ginger, and cloves.
  • In a separate large bowl, beat the eggs until well combined. Add in the brown sugar, canola oil, and pumpkin puree. Mix until smooth.
  • Gradually incorporate the dry ingredients into the wet mixture, stirring until fully combined.
  • Using a cookie scoop or spoon, drop rounds of batter onto the prepared baking sheets, leaving about 2 inches of space between each.
  • Bake in the preheated oven for about 11 minutes or until the cookies are set and slightly springy to the touch.
  • Once baked, remove from the oven and allow the cookies to cool on a wire rack.

2. Making the Cream Cheese Filling:

  • In a standing mixer, combine the softened cream cheese and butter until smooth and creamy.
  • Gradually add in the powdered sugar, mixing on low speed until well incorporated.
  • Stir in the vanilla extract, ensuring the filling is well combined and velvety.

3. Assembling the Pumpkin Whoopie Pies:

  • Match up pairs of cookies that are similar in size and shape.
  • Using a piping bag or a spoon, place a generous dollop of the cream cheese filling onto the flat side of one cookie in each pair.
  • Gently press the flat side of the second cookie onto the cream cheese filling to create a sandwich.
  • Repeat this process for all the cookie pairs.

4. Storing and Freezing:

  • To enjoy your Pumpkin Whoopie Pies within a couple of days, store them in an airtight container at room temperature. For longer storage, keep them in the refrigerator for up to a week.
  • To freeze, wrap each whoopie pie tightly in plastic wrap and then in aluminum foil. Frozen whoopie pies can be enjoyed for several months. Thaw in the refrigerator overnight before indulging.

Make sure you stop by the Country Store while you’re here at the farm to try one of our delicious Whoopie Pies. Visit our blog for more tasty recipes!

Watermelon Salsa

It’s watermelon season, folks! We love this sweet and spicy salsa made with fresh watermelon. Make some and serve it up at your next summer barbeque.

What you’ll need:

  • zest from 1 lime
  • 1/4 cup lime juice
  • 1 tbsp sugar
  • ground black pepper
  • 3 cups watermelon, seeded and finely chopped
  • 1 cucumber, peeled, seeded, and diced
  • 1 mango, peeled and diced
  • 1 jalapeno, seeded and minced
  • 1 small red onion, finely chopped
  • 8 basil leaves, finely chopped
  • 1/2 tsp garlic salt
  • tortilla chips

To make:

Add zest, juice, sugar, and pepper to a bowl and stir. Add the remaining ingredients and gently toss. Chill in the fridge. Serve with chips and enjoy!

Visit our blog for more tasty recipes and gardening tidbits!