All About Lisianthus

Lisianthus is the epitome of a classy, versatile flower. With ruffled petals and elegant buds in various colors, this delicate-looking bloom is prized for its beauty and ability to hold up as a cut flower.

Planting Lisianthus

Timing and Placement: Plant lisianthus transplants two to four weeks before the last spring frost to allow them a period of excellent soil. Space the plants 4 to 6 inches apart for optimal growth, positioning them slightly higher than the soil level.

Soil Requirements: Lisianthus thrives in neutral or slightly acidic (pH 6.5-7.0) and well-draining soil enriched with compost.

Lisianthus Care:

Plant lisianthus in an area that receives full sun for six to eight hours daily.

Soil and Water: Lisianthus prefers well-draining soil enriched with organic matter like compost or leaf mold. The soil should remain moist but not wet. Water as soon as the soil feels dry, avoiding moisture on the leaves. A soaker hose can be an excellent addition to the garden bed to help maintain consistent moisture levels.

Temperature and Humidity: Lisianthus is a heat-loving, drought-tolerant plant that prefers low humidity. It doesn’t tolerate high moisture well and is prone to developing diseases in such conditions.

Fertilizer: Regular feeding benefits lisianthus, so we recommend a commercial flowering plant fertilizer with more potassium than nitrogen every other time you water during the blooming period.

Pruning: Deadheading lisianthus encourages more blooms. In areas where it can be grown as a perennial, cut it back to the ground in winter and cover it with mulch. In extremely low temperatures, a row cover is used for added protection.

Visit our blog for more tasty recipes and gardening tidbits!

Tomato and Cucumber Salad

We love this tomato and cucumber salad because it’s light and refreshing, perfect for barbeques and picnics! Pick up a few tomato plants from Back Home on the Farm and use your tomatoes for this delicious side dish. 

You’ll need:

For the salad:

  • 5 large tomatoes, quartered
  • 1 English cucumber, peeled and sliced
  • 1/2 large red onion, sliced
  • tablespoons chopped fresh parsley
  • tablespoons chopped fresh cilantro
  • 1 pinch kosher salt and 1 pinch black pepper

For the dressing:

  • 1/2 cup olive oil
  • 1/4 cup red wine vinegar
  • teaspoon kosher salt + 1 pinch freshly ground black pepper
  • garlic cloves, minced
  • 1/2 teaspoon honey or brown sugar (optional for low-carb, Keto, or sugar-free diets)
  • teaspoon dried oregano

To make: 

Combine all the vegetables, herbs, salt, and pepper in a salad bowl.

In another bowl, combine all the dressing ingredients. Pour the dressing over the salad and toss to combine. Refrigerate and serve when ready. 

Visit our blog for more tasty recipes and gardening tidbits!

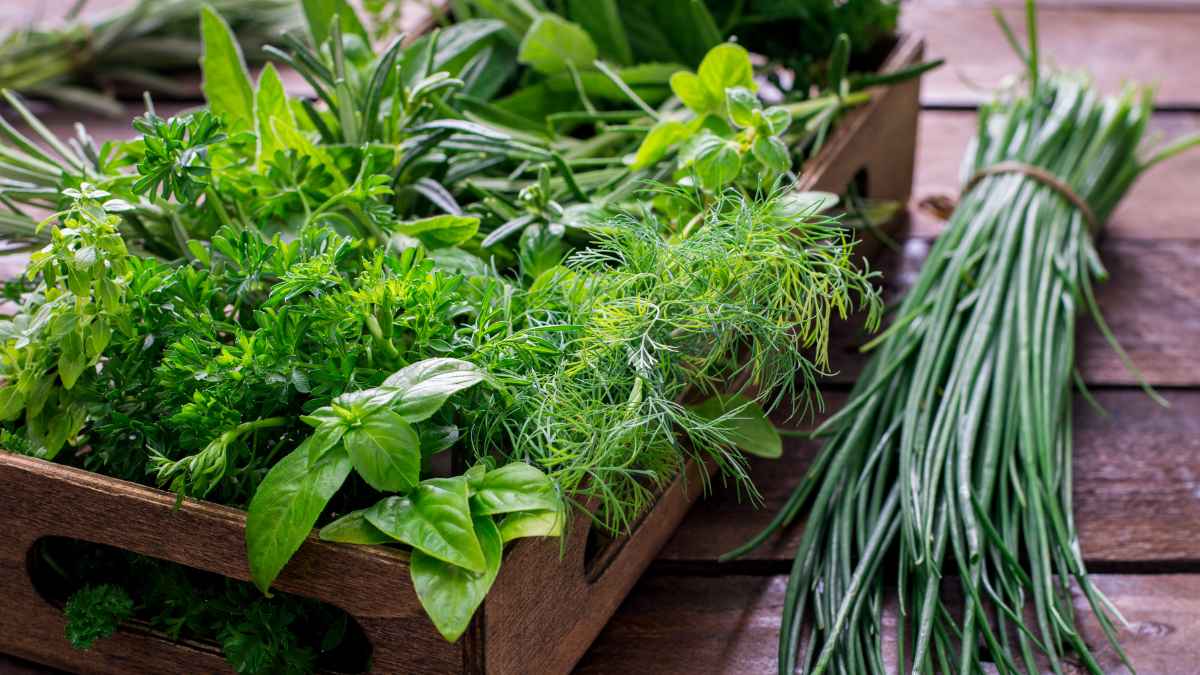
Herbs as Salt Substitutes

Enhance your meals with flavor and flair while staying mindful of your health. Herbs and spices, with their depth and variety, offer a heart-healthy alternative to salt and sugar. Choose from an excellent selection of herbs here at Back Home on the Farm!

Basil
With its sweet and peppery flavor, it’s a great compliment to fish and meat dishes. It’s also excellent in pesto, marinades, dressings, and sauces.

Bay Leaves
Bay leaves are primarily used in soups, stews, meats, poultry, seafood, and sauces. They add a woodsy, bitter touch to dishes.

Mint
Sweet and cooling, mint is lovely in salads and pairs well with potatoes and peas. 

Thyme
This peppery and lemony herb adds a punch of flavor to fish, chicken, tomatoes, and roasted vegetables. 

Oregano
Grilling season is almost upon us! Grow this warm and spicy herb for marinating meats and seafood before grilling. 

Visit our blog for more tasty recipes and gardening tidbits!
Mini Spinach and Egg Frittatas

We love quick, nutritious breakfasts that we can grab before we begin our busy days here at Back Home on the Farm. These Spinach and Parmesan Egg Muffins are delicious and packed with protein and veggies to kickstart your day. They’re also a perfect way to use all that spinach you grew in your garden. 

You’ll need:

  • 4 large eggs
  • 4 large egg whites
  • 1/2 cup 2% milk
  • 4 cups fresh spinach (roughly chopped if putting in muffin tins)
  • 1/2 cup Parmesan cheese
  • 1/2 teaspoon kosher salt
  • 1/4 teaspoon coarse ground black pepper
  • 1/4 teaspoon paprika

To make:

  1. Preparation: Start by preheating your oven to 450 degrees. This high temperature ensures your muffins get that golden-brown top. While waiting for the oven to heat up, generously spray a muffin tin with vegetable oil spray to prevent sticking.
  2. Mix Ingredients: Whisk the eggs and egg whites in a large bowl. Add the milk, chopped spinach, grated Parmesan cheese, and the seasonings (salt, pepper, and a dash of paprika). Whisk all the ingredients until well combined. 
  3. Bake: Pour the egg mixture into the muffin tins, filling them about 2/3 of the way. Slide the tray into the oven and bake for 15-18 minutes. You’ll know they’re done when they are firm to the touch and golden brown on top.

Serving Suggestions:

These egg muffins can be served warm right out of the oven or stored in the refrigerator for up to a week. Reheat them in the microwave for a quick breakfast. They’re also perfect for a protein-packed snack after a workout. Pair them with a small salad or fruit for a balanced meal.

Serve and enjoy!

Visit our blog for more tasty recipes and gardening tidbits!

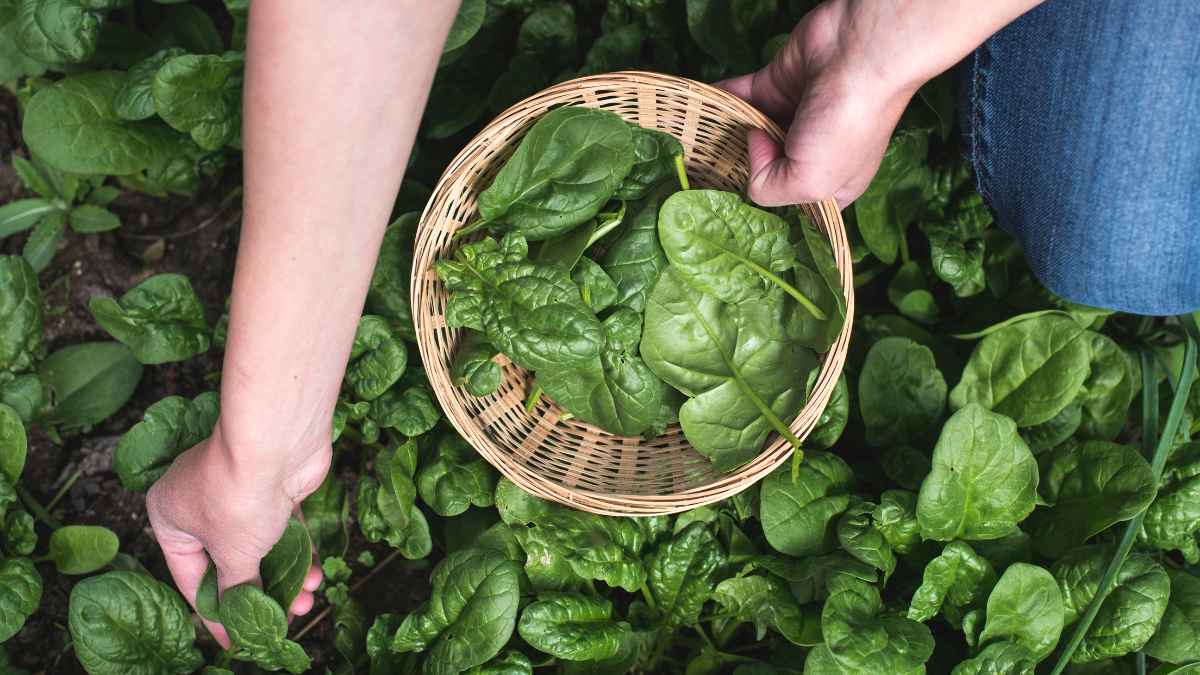
Healthy Spinach Harvest

With its vibrant green leaves and nutrient-packed goodness, spinach is a favorite among gardeners and culinary enthusiasts. Growing spinach in your garden ensures a fresh and abundant supply of this versatile leafy green and offers numerous health benefits and culinary possibilities. Here’s everything you need to know to grow spinach successfully in your backyard.

Spinach has various varieties with unique flavors, textures, and growing preferences. Varieties offered at Back Home on the Farm include Lizard Leaf, Imperial Valley, Smooth Leaf, and Bloomsdale. Consider factors such as your climate, available space, and culinary preferences when selecting a variety for your garden.

Spinach thrives in cool weather, making it an excellent choice for early spring and fall gardens. It prefers full sun but can tolerate partial shade, especially in warmer climates. Ensure your soil is well-drained, fertile, and rich in organic matter. Aim for a soil pH between 6.0 and 7.0 for optimal growth.

Spinach can be grown from seeds or transplants depending on your preference and growing season. For a continuous harvest, sow seeds every few weeks throughout the growing season. Plant seeds ½ to 1 inch deep and space them according to the variety’s recommendations. Keep the soil consistently moist until the seeds germinate.

Spinach requires regular watering to keep the soil consistently moist but not waterlogged. Mulch around the base of the plants to retain soil moisture and suppress weeds. Fertilize spinach plants with a balanced fertilizer every 4-6 weeks to promote healthy growth.

Additionally, monitor your plants for pests such as aphids, flea beetles, and leaf miners. Handpick any pests or use organic insecticidal soap to keep them under control. Harvesting Spinach Harvest spinach leaves when they reach your desired size, typically 4-6 inches long for baby spinach and 6-8 inches for mature leaves. Use a sharp knife or scissors to cut the leaves just above the soil level.

Harvest outer leaves first, allowing the inner leaves to grow for future harvests. Enjoying Your Spinach Harvest Once harvested, spinach can be enjoyed in various culinary creations. Use it raw in salads, sandwiches, and wraps, or cook it by steaming, sautéing, or wilting. Spinach is versatile in soups, stews, quiches, and pasta dishes.