Water Those ‘Maters!
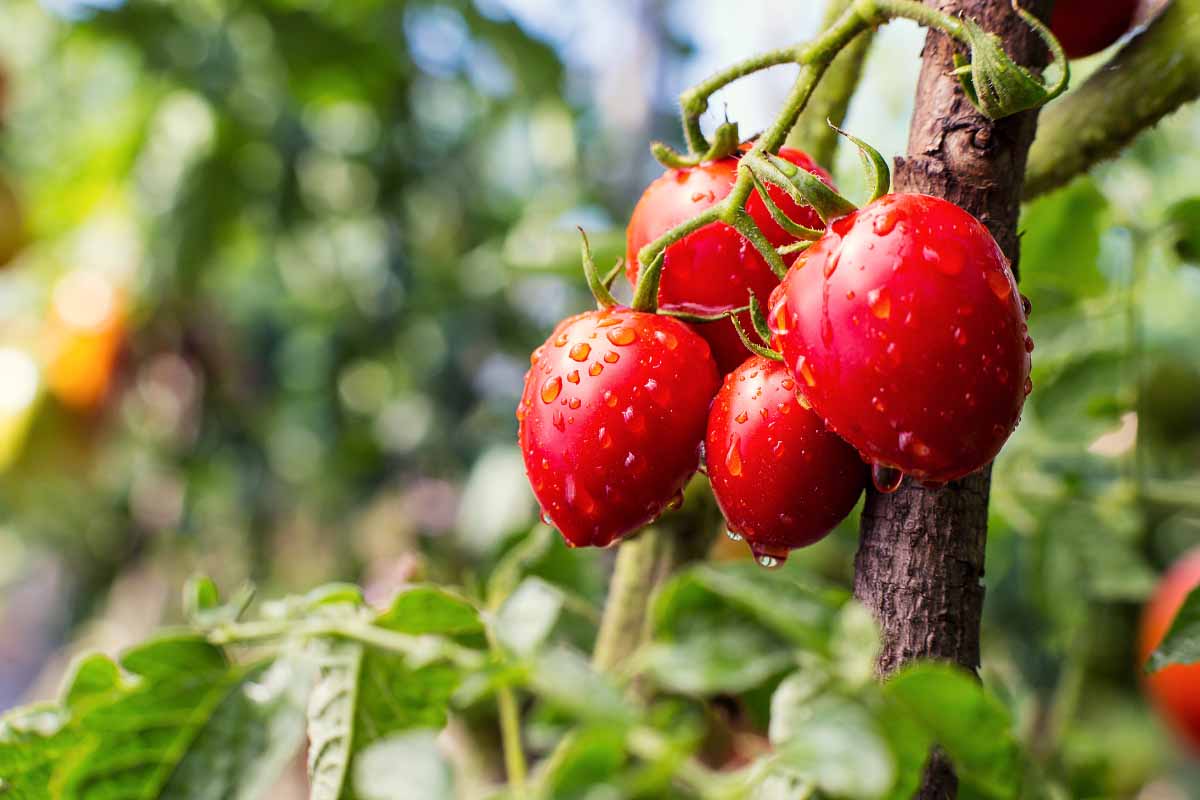
You’ve planted your tomatoes and are eagerly waiting to see them grow so you can add them to salads, burgers, and other tasty dishes. To ensure you get the best fruit, follow these tomato watering tips.
In the Garden
Early in the growing season, you’ll want to water your tomato plants early in the morning. As the summer temperatures increase, you may want to water your plants twice a day. Tomatoes planted in the garden generally need 1 – 2 inches of water a week.
In Containers
Tomatoes that are planted in containers need more than those planted in the garden. Water evaporates a lot faster in containers as the soil heats up. A good rule of thumb for container tomatoes is to water them until water comes out of the bottom of the pot. As with garden tomatoes, it’s better to water the plants early in the morning. If the soil feels dry about an inch below the surface, water that bad boy again.
Mulch It Up
Adding a layer of organic mulch can also help reduce evaporation. This will keep the water where it’s needed which is keeping your maters nice and hydrated.
Visit our blog for some more plant tips and tricks!
DIY Herbal Bug Spray
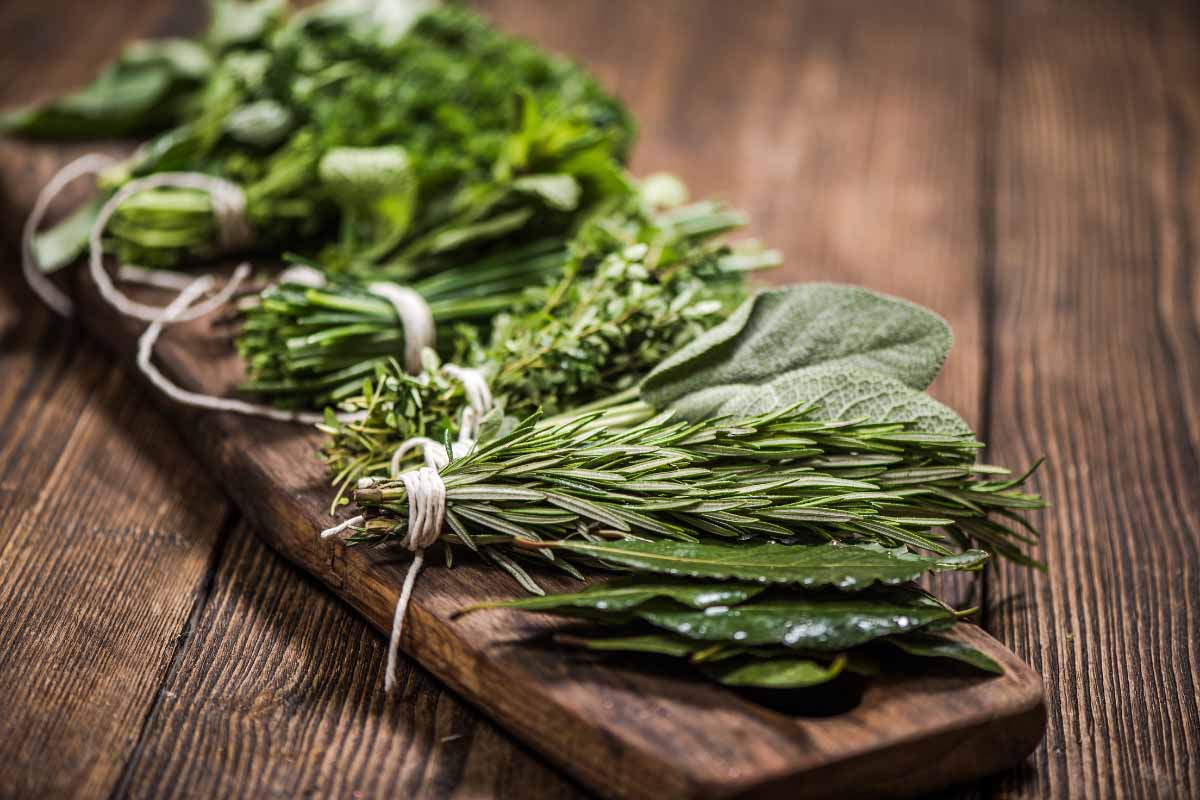
Nothing can ruin a fun summer night like getting bitten by skeeters. Try this all-natural bug spray recipe. All you need is a few fresh herbs from the garden and a few regular items from the pantry.
What you’ll need:
2 tbsp fresh mint (either spearmint or peppermint will work)
6 tbsp fresh herbs (catnip, citronella, lavender, etc.) finely chopped
1 cup distilled water (make your own by boiling and cooling tap water)
1 cup witch hazel, rubbing alcohol, or vodka
Glass spray bottle (stores better than plastic)
To make:
Bring one cup of distilled water to a boil in a saucepan. Add your fresh herbs to the pan. Cover the pot and remove from heat to let the mixture cool completely. When cool, strain your herbs using cheesecloth or a mesh strainer. Add 1 cup of witch hazel, alcohol, or vodka to your herb-infused water. Put the mixture into your glass spray bottle and store in the fridge. Use as needed to prevent mosquito bites.
Visit us on Pinterest for some more great herb uses.
Come visit us this Summer at the farm! We have 30+ family-friendly activities, adorable farm animals, and lots of tasty things to eat.
Tip Top Tomatoes
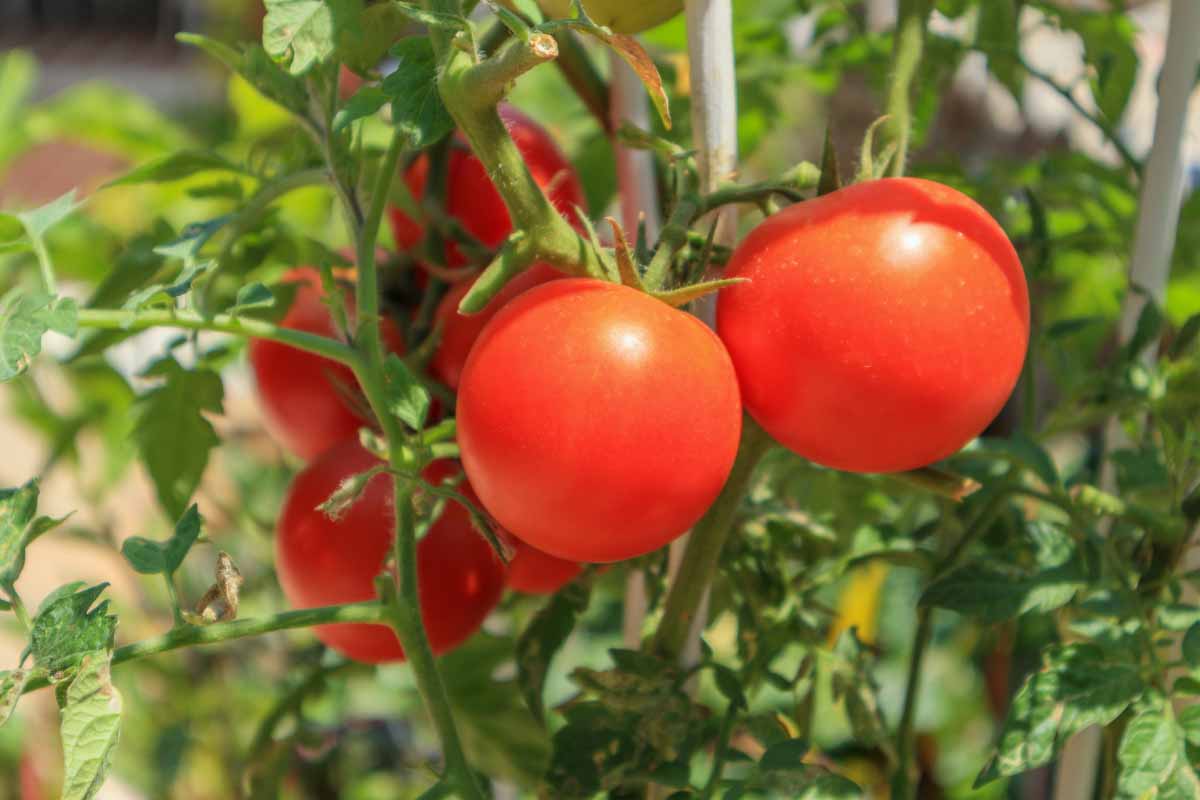
Tomatoes are a vegetable garden staple. Grow gloriously red and ripe tomatoes this summer by following these tips!
Loads of Sun
Plant your maters in the sunniest spot in your garden. Tomatoes soak up loads up sunshine and need about seven hours of the stuff each day. When planting multiple plants, space the plants about 48 inches apart to allow light to reach the lower part of your plants. This will also improve air flow.
Rich Soil
Tomatoes dig rich, well-draining soil that is slightly acidic. Aim for a pH of 6.5 to 6.8. You can either use a soil tester at home or bring in a sample to your local garden center for a test. If you’ve got too much acidity, you can add dolomite lime. If the test results show that you have too much alkaline, you can add a little organic compost to your soil.
Bug Off Buddies
Placing companion plants like basil, onions, and garlic with your tomatoes can help ward off crop-damaging pets like nematodes. Moles also hate the pungent plant so…win-win.
Water and Mulch
Tomatoes need about an inch of water a week. To help keep the moisture from evaporating in the summer heat, spread a layer of mulch (shredded bark, grass clippings, etc.) on top of your soil.
So Long Suckers!
To keep your tomato plant’s energy focused on growing fruit, you’ll need to prune off the suckers. Suckers are the little leaves that shoot out from the main stem. This will help promote air circulation and reduce the chance of diseases.
We’ve got loads of lovely tomato plants at the Greenhouse. Stop on by and pick up a few!
Kill Weeds Naturally
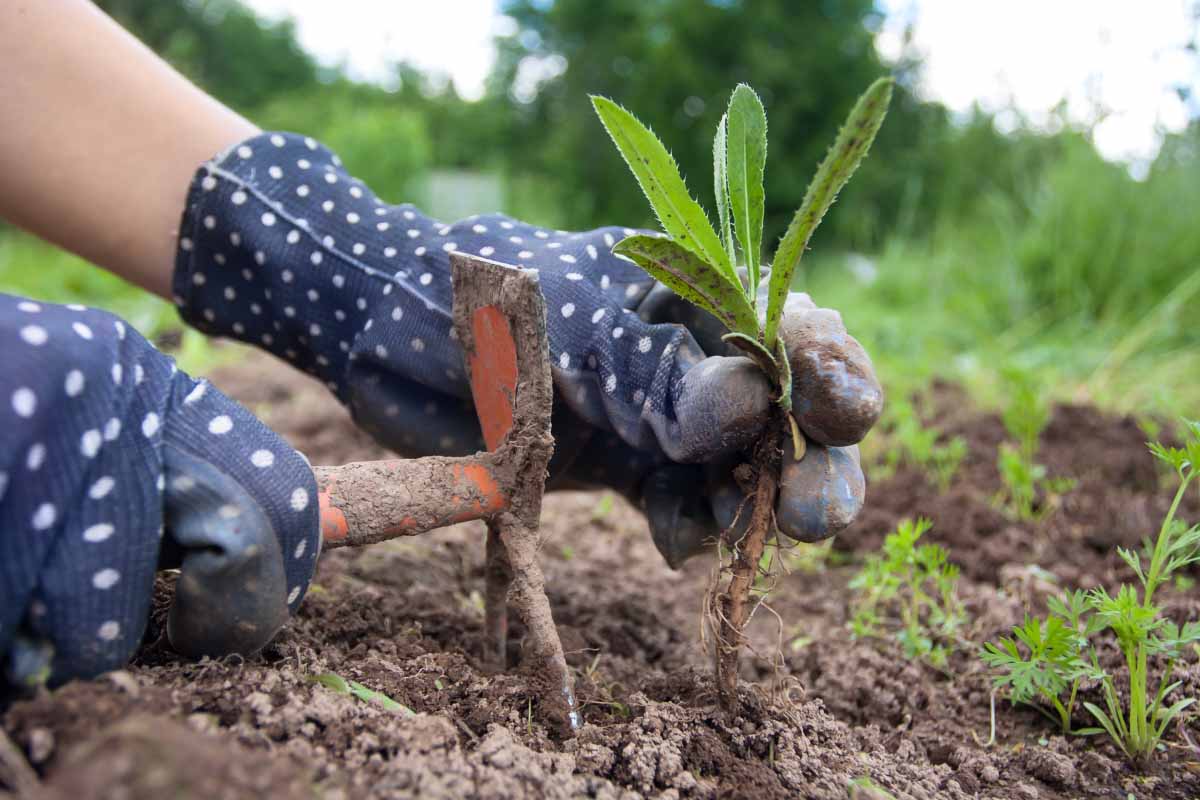
There’s nothing more frustrating that taking time and money to create a beautiful garden only to have it taken over by weeds. Here are a few effective ways to get rid of and prevent weeds without using harmful chemicals.
Mulching
After planting your garden, cover the soil with an extra layer of organic matter such as compost, bark, wood chips, straw, etc. This can smother existing weeds and prevent others from sprouting.
Dig ‘em Up
You can use a hoe or shovel to remove all weeds. However, this method requires constant attention. If you don’t put in the time, the weeds will come back and need to be dug up again. On the bright side, constant hand-weeding will prevent the weeds from reproducing.
Cram Packed Plants
Weeds can’t grow if there’s no room for them to do so. Planting dense ground covers and perennials will make it harder for weeds to grow underneath.
Bake ‘em
If you have a large area of weeds in an area that don’t have a lot of plants, you can cover the impacted area with heavy plastic sheeting. This works best in an area that gets full sun. Cover the area with plastic and let it sit for 4-6 weeks. When the area underneath is brown, you’re ready to move forward with planting your goodies.
Vodka, Man!
Mix 1 oz vodka, 2 cups water, and a couple drops of dish soap for an excellent natural weed killer. Spray the mixture on weeds that have good sun exposure. Keep in mind, this doesn’t work too well for weeds in shady areas.
Fire
Flame weeding is a the process of passing a flame briefly over an area to kill the weeds. A flame weeder is usually a wand connected to a propane tank. Please not this method only kills the weed plant on the surface and not the roots so you would have to do this on a regular basis. As with any fire-related activity, please take safety precautions.
Visit our blog for more gardening tidbits!
Watering Your Fern
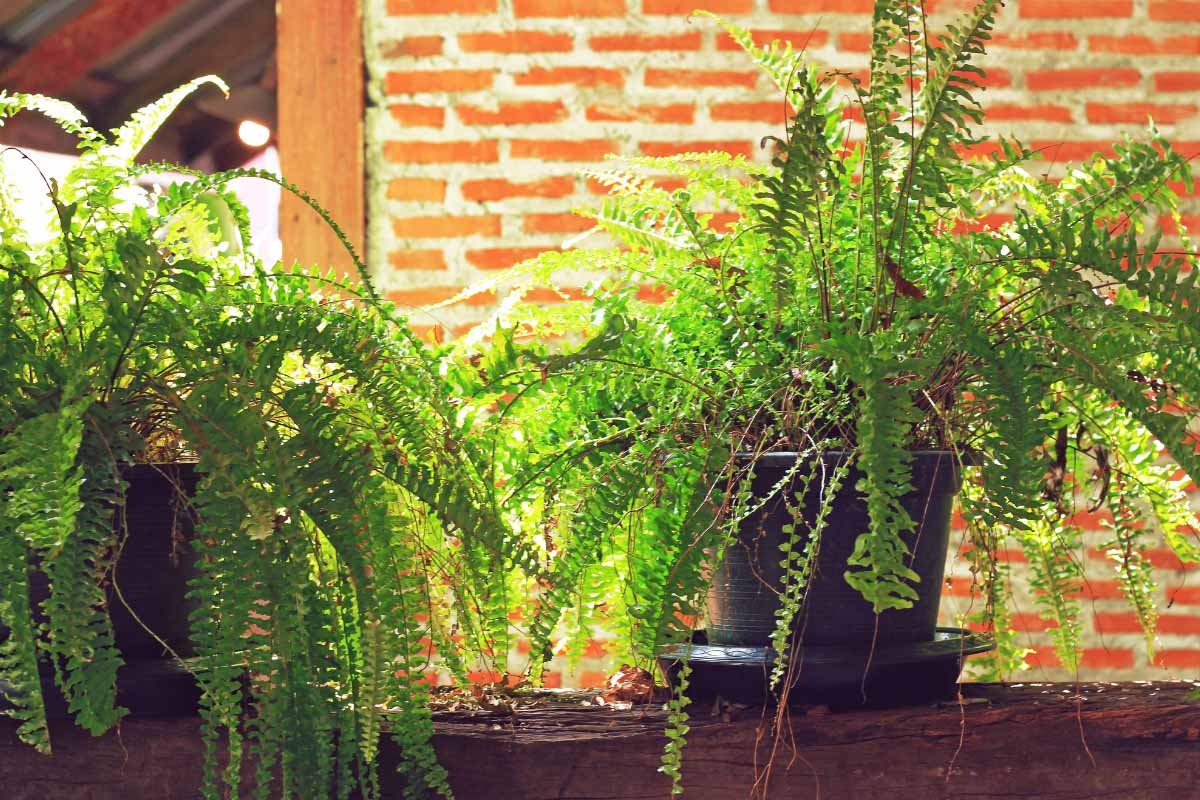
We love ferns here at the Greenhouse! Their full, lush fronds can be beautiful options for hanging plants or for planting in shady areas of your garden. In addition to lots of shade and indirect sunlight, ferns needs tons of moisture. Here are a few ways you can keep your fern’s conditions moist.
Double Potting
Select a second pot slightly larger than the container your fern is potted in. Fill the larger container with water-soaked moss and place your second pot inside. Cover the fern-filled pot’s soil and rim with wet moss. Add water to the moss every few days.
Water Tray
To create a humid environment for your fern, fill a tray with pebbles and add water until the water is just below the top of the pebbles. Place your potted fern in the tray. As the water in the tray evaporates, it will add moisture to the air around your fern.
Humidifier
Another easy way to keep your fern happy is to place a humidifier by your plant. Simple!
We also recommending misting your fern with room-temperature water on a regular basis. For better results, spray the area above your fern and let the mist settle onto the leaves.
Visit our blog for more great gardening tips!


