Pickles Made Easy

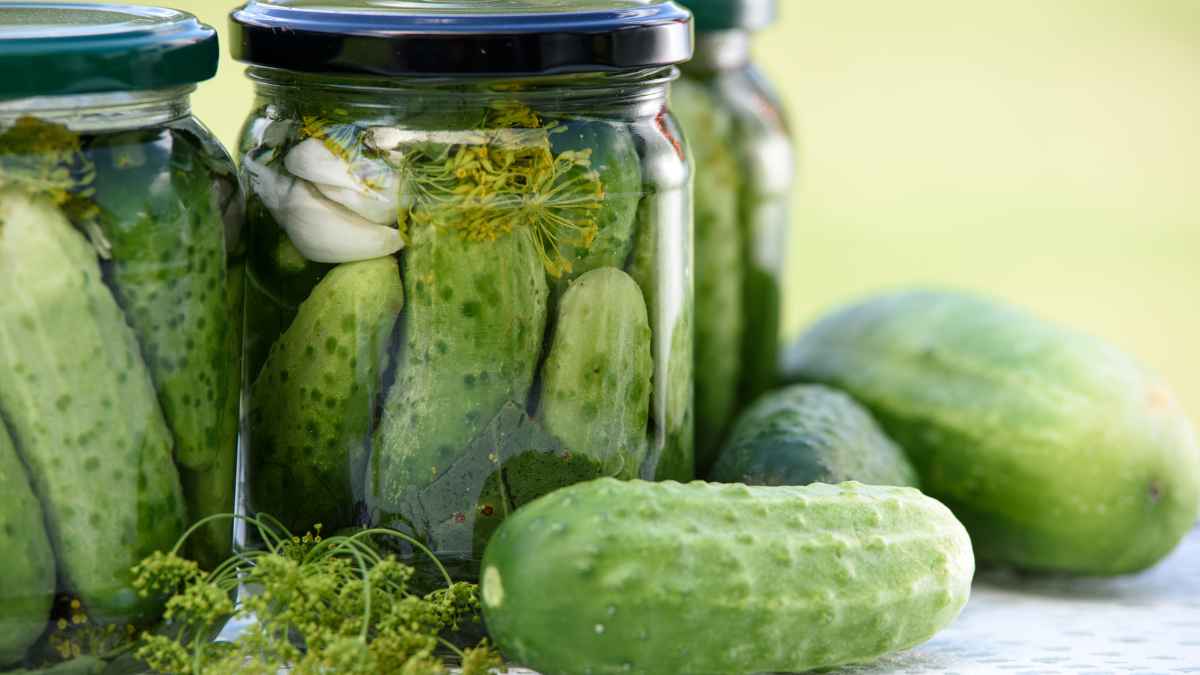
Pickling cucumbers is a great way to preserve the freshness of summer and enjoy the tangy crunch of pickles year-round. Whether you prefer classic dill pickles, sweet bread-and-butter pickles, or spicy variations, pickling cucumbers at home is easier than you might think. Here’s a guide to help you get started on pickling.

Choosing the Right Cucumbers
For the best pickles, choose cucumbers that are:
Small to Medium-Sized: About 4-6 inches long, firm, and blemish-free.
Fresh: Pick freshly harvested cucumbers for the best texture and flavor.
Pickling Varieties: While you can pickle any cucumber, pickling varieties like Kirby or Persian cucumbers hold up better during the pickling process.

You’ll need:

  • Cucumbers: Fresh, firm cucumbers.
  • Vinegar: White vinegar or apple cider vinegar for a tangy flavor.
  • Water: To dilute the vinegar.
  • Salt: Pickling salt or kosher salt (avoid iodized salt).
  • Sugar: Optional for sweet pickles.
  • Spices: Dill seeds, mustard seeds, peppercorns, and garlic are expected. For a spicy kick, you can also add red pepper flakes.
  • Fresh Dill: For dill pickles.
  • Jars: Clean, sterilized jars with lids.

To make:

  • Prepare the cucumbers by washing them thoroughly and trimming off the ends. Cut the cucumbers into desired shapes, such as spears or slices, or leave them whole for baby pickles.
  • To make the brine, combine vinegar and water in a saucepan. Add salt (about 2 tablespoons per quart of liquid) and sugar if making sweet pickles. Bring the mixture to a boil, stirring to dissolve the salt (and sugar).
  • Place spices, garlic, and fresh dill at the bottom of each sterilized jar.
  • Pack the cucumbers tightly into the jars.
  • Pour the hot brine over the cucumbers, leaving about 1/2 inch of headspace.

Seal and process the jars:

  • Wipe the rims of the jars with a clean cloth to ensure a good seal.
  • Place the lids on the jars and screw on the bands until fingertip tight.
  • Process the jars in a boiling water bath for 10-15 minutes for shelf-stable pickles.
  • If you prefer refrigerator pickles, skip the water bath and store the jars in the fridge.

Allow the pickles to sit for at least 24 hours to develop flavor, but they taste best after a week. For fermented pickles, leave the jars at room temperature for 1-2 weeks, then refrigerate.

Visit our blog for more tasty recipes and gardening tidbits!

Tomato and Cucumber Salad

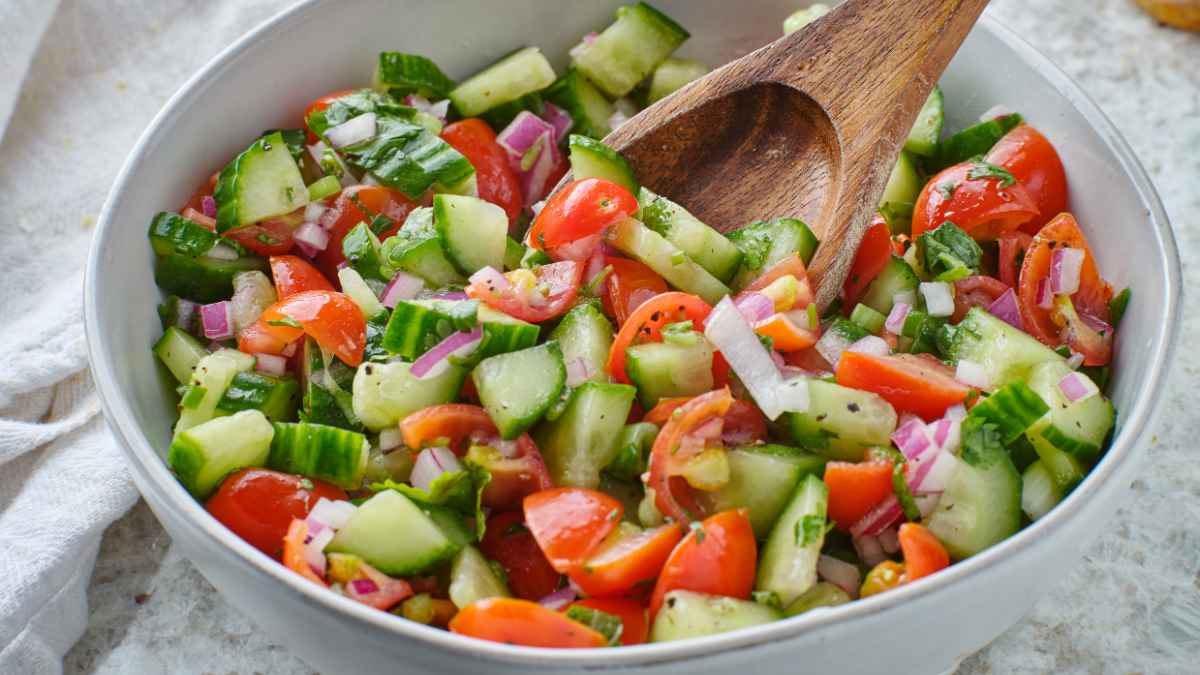
We love this tomato and cucumber salad because it’s light and refreshing, perfect for barbeques and picnics! Pick up a few tomato plants from Back Home on the Farm and use your tomatoes for this delicious side dish. 

You’ll need:

For the salad:

  • 5 large tomatoes, quartered
  • 1 English cucumber, peeled and sliced
  • 1/2 large red onion, sliced
  • tablespoons chopped fresh parsley
  • tablespoons chopped fresh cilantro
  • 1 pinch kosher salt and 1 pinch black pepper

For the dressing:

  • 1/2 cup olive oil
  • 1/4 cup red wine vinegar
  • teaspoon kosher salt + 1 pinch freshly ground black pepper
  • garlic cloves, minced
  • 1/2 teaspoon honey or brown sugar (optional for low-carb, Keto, or sugar-free diets)
  • teaspoon dried oregano

To make: 

Combine all the vegetables, herbs, salt, and pepper in a salad bowl.

In another bowl, combine all the dressing ingredients. Pour the dressing over the salad and toss to combine. Refrigerate and serve when ready. 

Visit our blog for more tasty recipes and gardening tidbits!

Herbs as Salt Substitutes

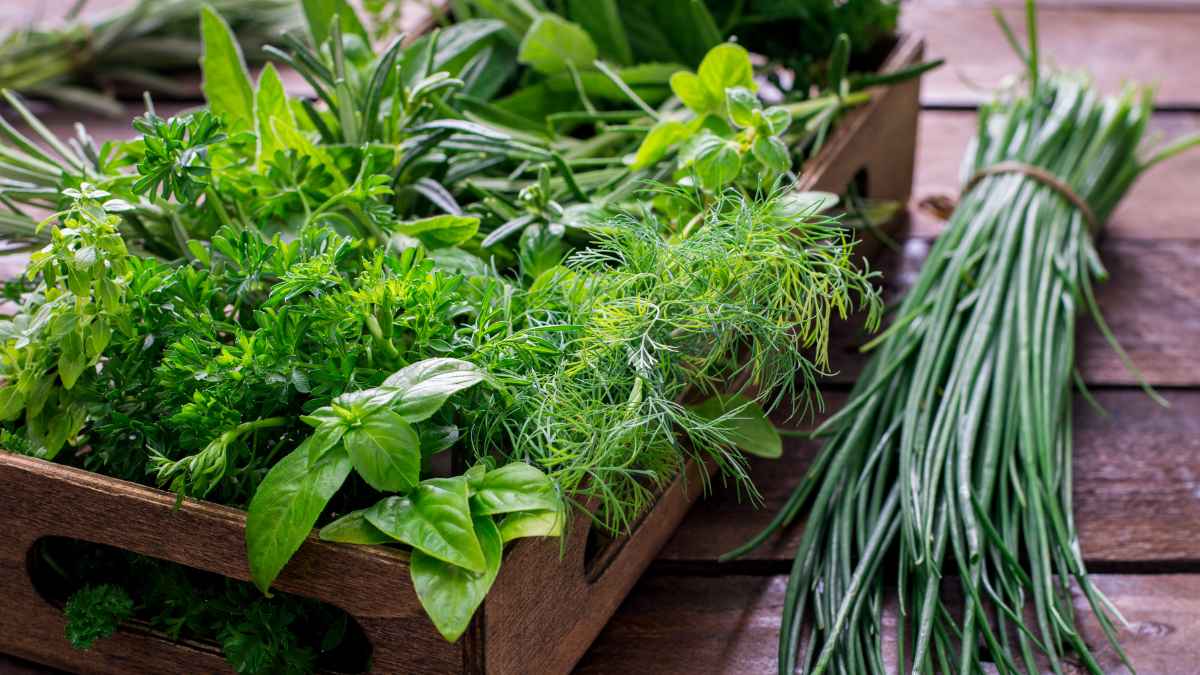
Enhance your meals with flavor and flair while staying mindful of your health. Herbs and spices, with their depth and variety, offer a heart-healthy alternative to salt and sugar. Choose from an excellent selection of herbs here at Back Home on the Farm!

Basil
With its sweet and peppery flavor, it’s a great compliment to fish and meat dishes. It’s also excellent in pesto, marinades, dressings, and sauces.

Bay Leaves
Bay leaves are primarily used in soups, stews, meats, poultry, seafood, and sauces. They add a woodsy, bitter touch to dishes.

Mint
Sweet and cooling, mint is lovely in salads and pairs well with potatoes and peas. 

Thyme
This peppery and lemony herb adds a punch of flavor to fish, chicken, tomatoes, and roasted vegetables. 

Oregano
Grilling season is almost upon us! Grow this warm and spicy herb for marinating meats and seafood before grilling. 

Visit our blog for more tasty recipes and gardening tidbits!

Healthy Spinach Harvest

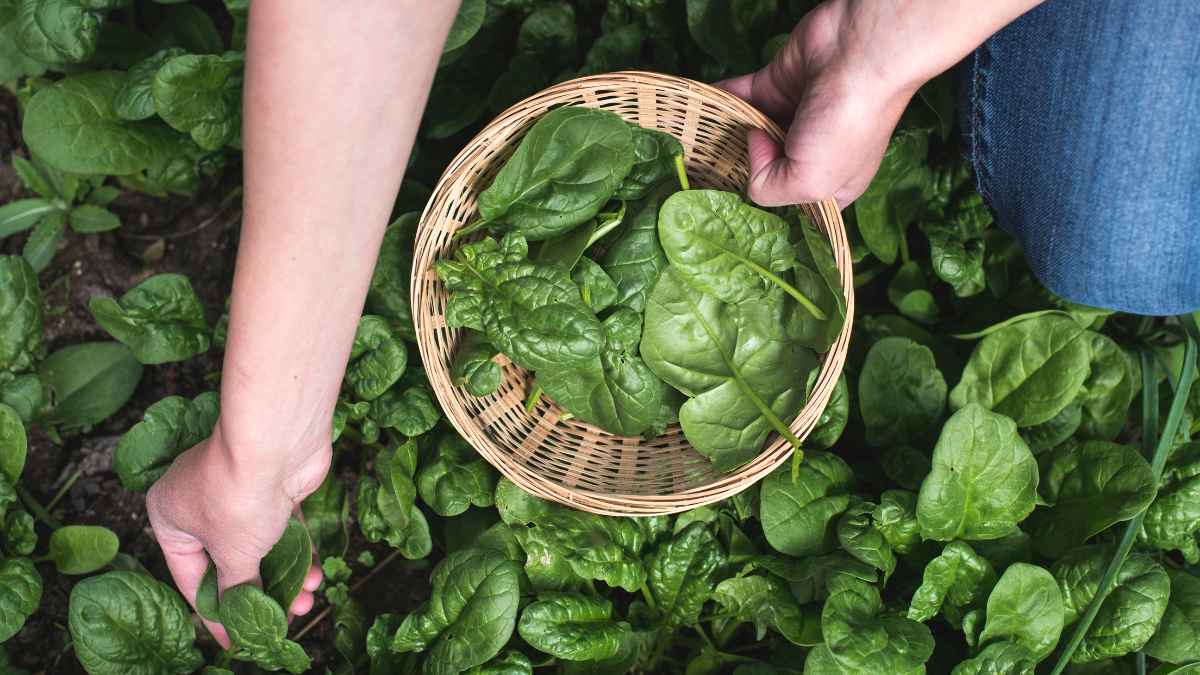
With its vibrant green leaves and nutrient-packed goodness, spinach is a favorite among gardeners and culinary enthusiasts. Growing spinach in your garden ensures a fresh and abundant supply of this versatile leafy green and offers numerous health benefits and culinary possibilities. Here’s everything you need to know to grow spinach successfully in your backyard.

Spinach has various varieties with unique flavors, textures, and growing preferences. Varieties offered at Back Home on the Farm include Lizard Leaf, Imperial Valley, Smooth Leaf, and Bloomsdale. Consider factors such as your climate, available space, and culinary preferences when selecting a variety for your garden.

Spinach thrives in cool weather, making it an excellent choice for early spring and fall gardens. It prefers full sun but can tolerate partial shade, especially in warmer climates. Ensure your soil is well-drained, fertile, and rich in organic matter. Aim for a soil pH between 6.0 and 7.0 for optimal growth.

Spinach can be grown from seeds or transplants depending on your preference and growing season. For a continuous harvest, sow seeds every few weeks throughout the growing season. Plant seeds ½ to 1 inch deep and space them according to the variety’s recommendations. Keep the soil consistently moist until the seeds germinate.

Spinach requires regular watering to keep the soil consistently moist but not waterlogged. Mulch around the base of the plants to retain soil moisture and suppress weeds. Fertilize spinach plants with a balanced fertilizer every 4-6 weeks to promote healthy growth.

Additionally, monitor your plants for pests such as aphids, flea beetles, and leaf miners. Handpick any pests or use organic insecticidal soap to keep them under control. Harvesting Spinach Harvest spinach leaves when they reach your desired size, typically 4-6 inches long for baby spinach and 6-8 inches for mature leaves. Use a sharp knife or scissors to cut the leaves just above the soil level.

Harvest outer leaves first, allowing the inner leaves to grow for future harvests. Enjoying Your Spinach Harvest Once harvested, spinach can be enjoyed in various culinary creations. Use it raw in salads, sandwiches, and wraps, or cook it by steaming, sautéing, or wilting. Spinach is versatile in soups, stews, quiches, and pasta dishes.

Thriving Greens

With its crisp texture and refreshing taste, lettuce is a staple worldwide in salads, sandwiches, and wraps. Growing your lettuce at home not only ensures a constant supply of fresh greens but also allows you to explore a variety of flavors and textures. Below we’ll walk you through everything you need to know to grow lettuce successfully in your garden.

Lettuce has several varieties with unique flavor, texture, and growing preferences. Back Home on the Farm carries the following lettuce varieties: Cheap Frills Lettuce, Buttercrunch, Fresh Heart, Allstar, and Bonvivant. Consider factors such as your climate, available space, and taste preferences when selecting a variety for your garden.

Lettuce thrives in cool weather, making it an excellent choice for spring and fall gardens. It prefers full sun but can tolerate partial shade, especially in hotter climates. Ensure your soil is well-drained, fertile, and rich in organic matter. Aim for a soil pH between 6.0 and 7.0 for optimal growth.

Lettuce can be grown from seeds or transplants, depending on your preference and growing season. For a continuous harvest, sow seeds every few weeks throughout the growing season. Plant seeds ¼ to ½ inch deep and space them according to the variety’s recommendations. Keep the soil consistently moist until the seeds germinate.

Lettuce requires regular watering to keep the soil consistently moist but not waterlogged. Avoid overhead watering to prevent the development of fungal diseases. Mulch around the base of the plants to retain soil moisture and suppress weeds.

Fertilize lettuce plants with a balanced fertilizer every 3-4 weeks to promote healthy growth. Monitor your plants for pests such as aphids, slugs, and snails. Handpick any pests or use organic insecticidal soap to keep them under control.

Harvest lettuce leaves when they reach your desired size, typically 4-6 inches long for leaf lettuce and 6-8 inches tall for head lettuce varieties. Use a sharp knife or scissors to cut the leaves just above the soil level. Harvest outer leaves first, allowing the inner leaves to grow for future harvests.

Once harvested, lettuce can be enjoyed in a variety of culinary creations. Use it as a base for salads, sandwiches, wraps, and tacos, or incorporate it into soups, stir-fries, and smoothies. Lettuce is also versatile in appetizers, side dishes, and even desserts.

Visit our blog for more tasty recipes and gardening tidbits!