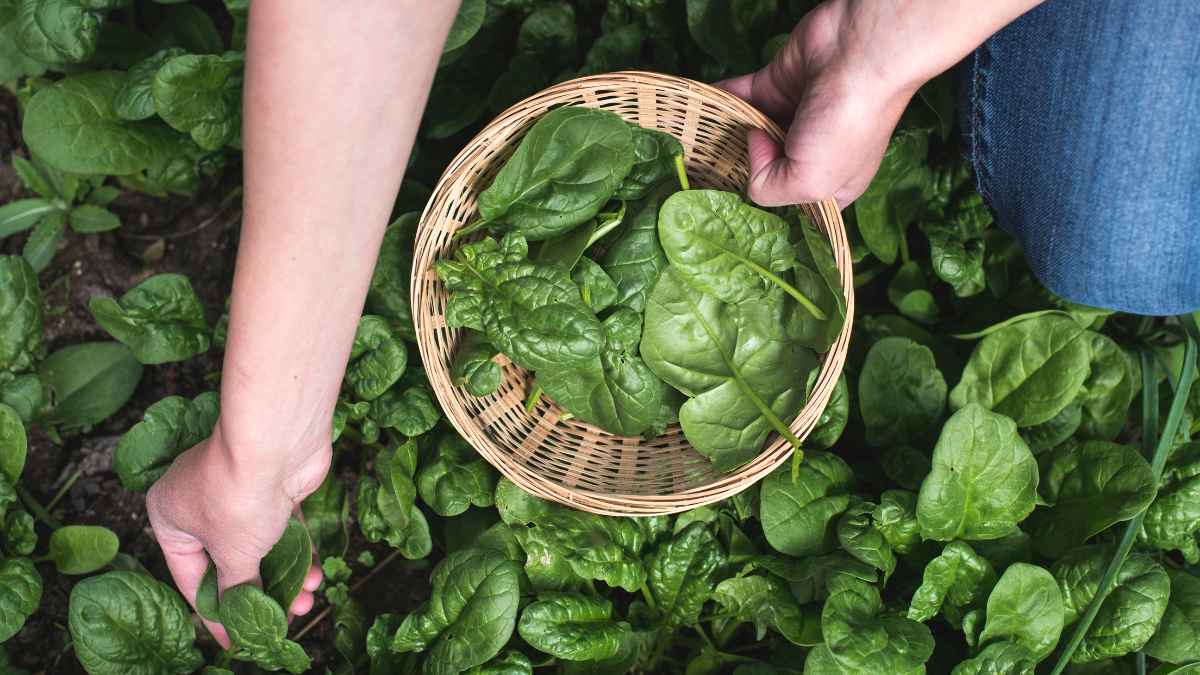
Healthy Spinach Harvest

With its vibrant green leaves and nutrient-packed goodness, spinach is a favorite among gardeners and culinary enthusiasts. Growing spinach in your garden ensures a fresh and abundant supply of this versatile leafy green and offers numerous health benefits and culinary possibilities. Here’s everything you need to know to grow spinach successfully in your backyard.

Spinach has various varieties with unique flavors, textures, and growing preferences. Varieties offered at Back Home on the Farm include Lizard Leaf, Imperial Valley, Smooth Leaf, and Bloomsdale. Consider factors such as your climate, available space, and culinary preferences when selecting a variety for your garden.

Spinach thrives in cool weather, making it an excellent choice for early spring and fall gardens. It prefers full sun but can tolerate partial shade, especially in warmer climates. Ensure your soil is well-drained, fertile, and rich in organic matter. Aim for a soil pH between 6.0 and 7.0 for optimal growth.

Spinach can be grown from seeds or transplants depending on your preference and growing season. For a continuous harvest, sow seeds every few weeks throughout the growing season. Plant seeds ½ to 1 inch deep and space them according to the variety’s recommendations. Keep the soil consistently moist until the seeds germinate.

Spinach requires regular watering to keep the soil consistently moist but not waterlogged. Mulch around the base of the plants to retain soil moisture and suppress weeds. Fertilize spinach plants with a balanced fertilizer every 4-6 weeks to promote healthy growth.

Additionally, monitor your plants for pests such as aphids, flea beetles, and leaf miners. Handpick any pests or use organic insecticidal soap to keep them under control. Harvesting Spinach Harvest spinach leaves when they reach your desired size, typically 4-6 inches long for baby spinach and 6-8 inches for mature leaves. Use a sharp knife or scissors to cut the leaves just above the soil level.

Harvest outer leaves first, allowing the inner leaves to grow for future harvests. Enjoying Your Spinach Harvest Once harvested, spinach can be enjoyed in various culinary creations. Use it raw in salads, sandwiches, and wraps, or cook it by steaming, sautéing, or wilting. Spinach is versatile in soups, stews, quiches, and pasta dishes.

Thriving Greens

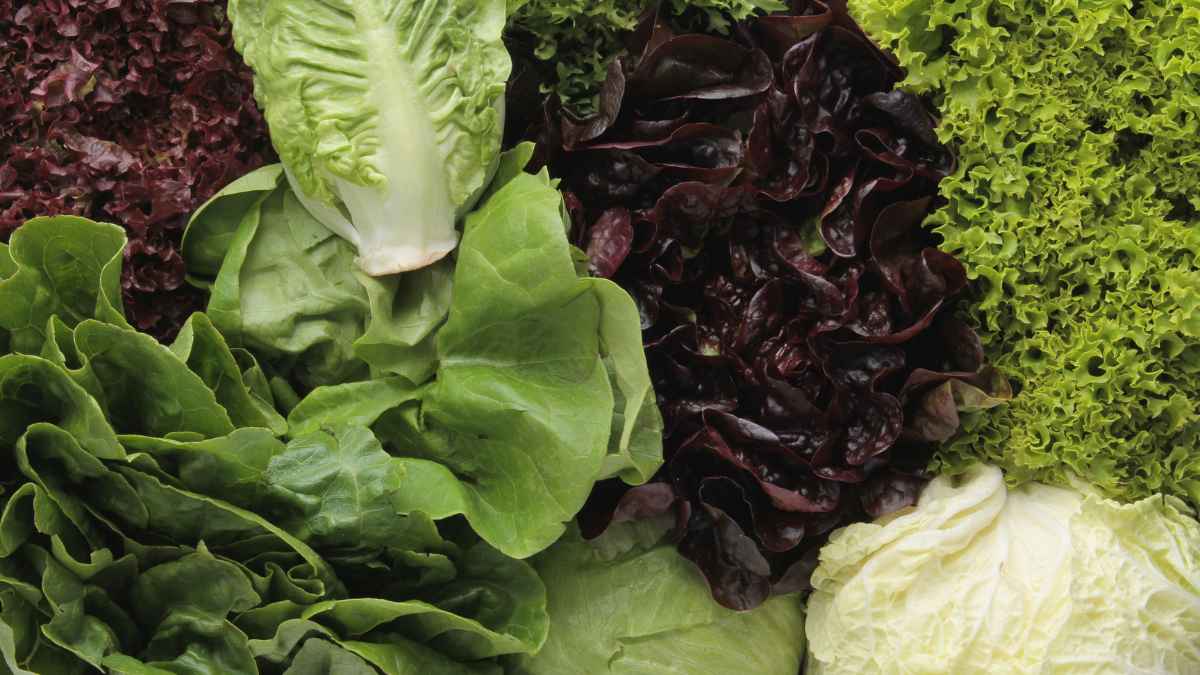
With its crisp texture and refreshing taste, lettuce is a staple worldwide in salads, sandwiches, and wraps. Growing your lettuce at home not only ensures a constant supply of fresh greens but also allows you to explore a variety of flavors and textures. Below we’ll walk you through everything you need to know to grow lettuce successfully in your garden.

Lettuce has several varieties with unique flavor, texture, and growing preferences. Back Home on the Farm carries the following lettuce varieties: Cheap Frills Lettuce, Buttercrunch, Fresh Heart, Allstar, and Bonvivant. Consider factors such as your climate, available space, and taste preferences when selecting a variety for your garden.

Lettuce thrives in cool weather, making it an excellent choice for spring and fall gardens. It prefers full sun but can tolerate partial shade, especially in hotter climates. Ensure your soil is well-drained, fertile, and rich in organic matter. Aim for a soil pH between 6.0 and 7.0 for optimal growth.

Lettuce can be grown from seeds or transplants, depending on your preference and growing season. For a continuous harvest, sow seeds every few weeks throughout the growing season. Plant seeds ¼ to ½ inch deep and space them according to the variety’s recommendations. Keep the soil consistently moist until the seeds germinate.

Lettuce requires regular watering to keep the soil consistently moist but not waterlogged. Avoid overhead watering to prevent the development of fungal diseases. Mulch around the base of the plants to retain soil moisture and suppress weeds.

Fertilize lettuce plants with a balanced fertilizer every 3-4 weeks to promote healthy growth. Monitor your plants for pests such as aphids, slugs, and snails. Handpick any pests or use organic insecticidal soap to keep them under control.

Harvest lettuce leaves when they reach your desired size, typically 4-6 inches long for leaf lettuce and 6-8 inches tall for head lettuce varieties. Use a sharp knife or scissors to cut the leaves just above the soil level. Harvest outer leaves first, allowing the inner leaves to grow for future harvests.

Once harvested, lettuce can be enjoyed in a variety of culinary creations. Use it as a base for salads, sandwiches, wraps, and tacos, or incorporate it into soups, stir-fries, and smoothies. Lettuce is also versatile in appetizers, side dishes, and even desserts.

Visit our blog for more tasty recipes and gardening tidbits!

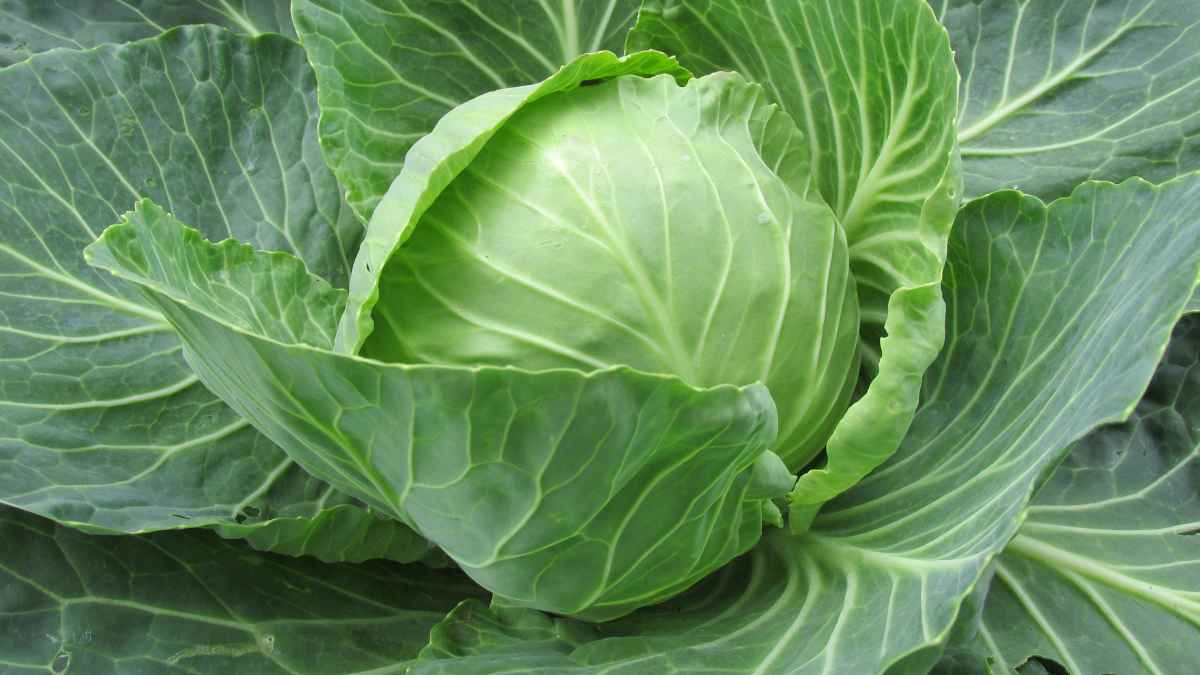
Cabbage Patch Success

With its crunchy texture and versatility in the kitchen, cabbage is a beloved vegetable that adds depth and flavor to countless dishes. Whether you’re a seasoned gardener or a novice enthusiast, cultivating cabbage in your garden can be easy.

Cabbage comes in various shapes, sizes, and colors, each with its unique flavor profile and growing requirements. Back Home on the Farm carries several varieties, including Thunderhead, Red Dynasty, Stonehead, Superstar, Savoy King, Late Flat Dutch, and Ruby Perfection. Consider your climate, available space, and culinary preferences when selecting a variety.

Cabbage thrives in cool weather, making it an excellent choice for spring and fall gardens. It prefers full sun but can tolerate partial shade, especially in warmer climates. Ensure your soil is well-drained, fertile, and rich in organic matter. Aim for a soil pH between 6.0 and 7.5 for optimal growth.

Cabbage can be grown from seeds or transplants, depending on your preference and growing season. Start seeds indoors 6-8 weeks before the last expected frost date, or plant transplants directly into the garden bed once the soil is workable. Space cabbage plants are 12-18 inches apart for proper airflow and growth.

Cabbage requires consistent moisture to thrive, so water regularly, especially during dry spells. Avoid overhead watering to prevent the development of fungal diseases. Mulch around the base of the plants to retain soil moisture and suppress weeds.
Fertilize cabbage plants with a balanced fertilizer high in nitrogen to promote healthy leafy growth. Monitor your plants for pests such as cabbage worms, aphids, and slugs. Handpick any pests or use organic insecticidal soap to keep them under control.

Knowing when to harvest cabbage is essential for optimal flavor and texture. Harvest cabbage heads when they are firm and solid and reach the desired size, typically 70-120 days after planting, depending on the variety. Use a sharp knife to cut the head from the stem at ground level.

Once harvested, cabbage can be enjoyed in a multitude of culinary creations. Use raw cabbage in salads, slaws, and sandwiches, or cook it by steaming, sautéing, or braising. Cabbage is also a popular ingredient in soups, stews, stir-fries, and fermented foods like sauerkraut and kimchi.

Visit our blog for more tasty recipes and gardening tidbits!

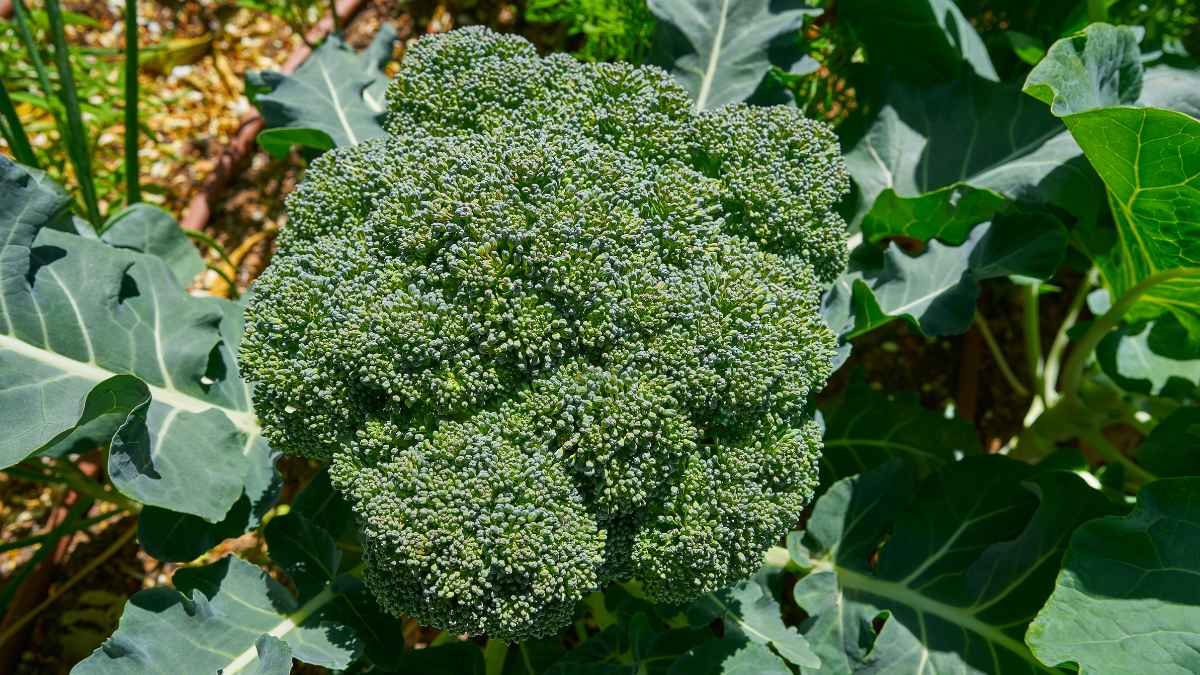
Bountiful Broccoli

Broccoli is a beloved vegetable that graces dinner tables worldwide. It may seem like a challenging crop to grow, but cultivating broccoli in your garden can be a rewarding experience with the proper knowledge and care.

Broccoli comes in various shapes, sizes, and colors, so choosing a suitable variety for your garden is crucial. We carry Green Magic, Durapak, Destiny varieties here at the greenhouse. Consider your climate, available space, and taste preferences when selecting a variety.

Broccoli thrives in cool weather, making it an excellent choice for spring and fall gardens. It prefers full sun but can tolerate partial shade, especially in hotter regions. Ensure your soil is well-drained, fertile, and rich in organic matter. Aim for a soil pH between 6.0 and 7.0 for optimal growth.

Depending on your preference and growing season, broccoli can be grown from seeds or seedlings. Start seeds indoors 6-8 weeks before the last expected frost date, or sow them directly into the garden bed once the soil is workable. Space broccoli plants 18-24 inches apart to allow for proper airflow and growth.

Broccoli requires consistent moisture to thrive, so water regularly, especially during dry periods. Avoid overhead watering to prevent the development of fungal diseases. Mulch around the base of the plants to retain soil moisture and suppress weeds.

Fertilize broccoli plants with a balanced fertilizer high in nitrogen to promote healthy foliage growth. Monitor your plants for pests such as cabbage worms, aphids, and flea beetles. Handpick any pests or use organic insecticidal soap to keep them under control.

Knowing when to harvest broccoli is crucial for optimal flavor and texture. Harvest broccoli heads when they are firm, dark green, and tightly packed, typically 60-90 days after planting. Use a sharp knife to cut the main head just below the florets, leaving the plant intact to produce side shoots for later harvests.

Once harvested, broccoli can be enjoyed in a variety of delicious dishes. Steam or roast broccoli florets as a simple side dish, add them to stir-fries, soups, or salads, or incorporate them into casseroles and pasta dishes. Broccoli is delicious and packed with vitamins, minerals, and antioxidants, making it a nutritious addition to any meal.

Visit our blog for more tasty recipes and gardening tidbits!

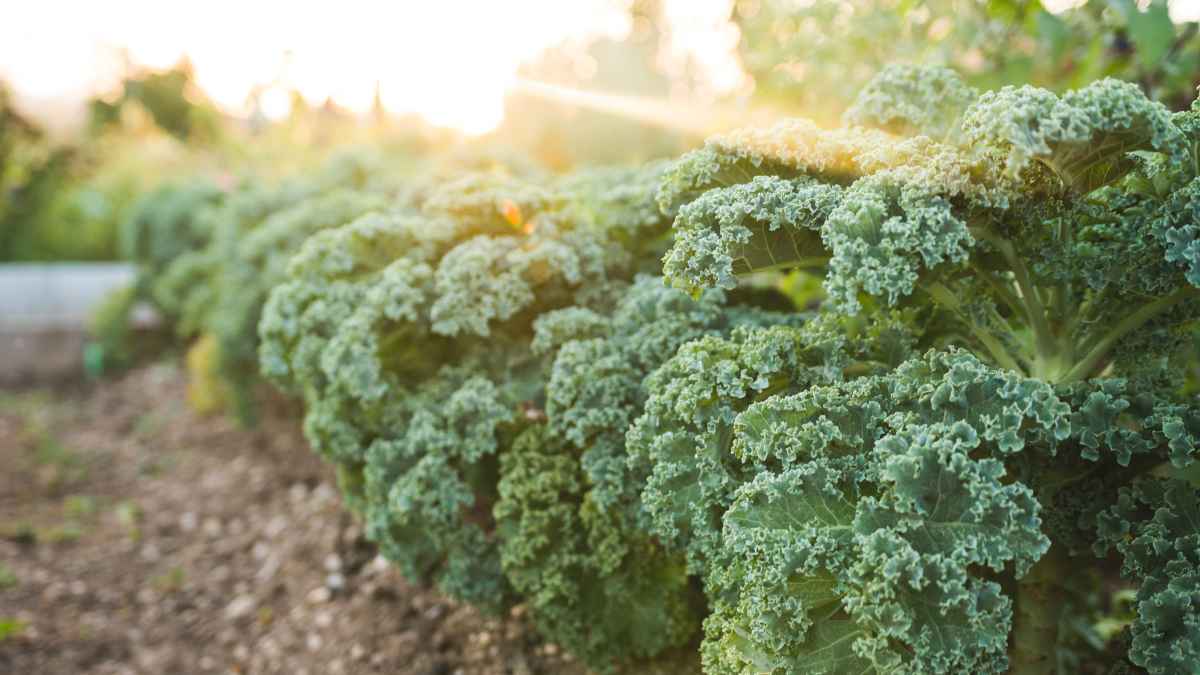
Growing Kale at Home

Kale has become a staple in many kitchens and gardens due to its vibrant leaves and powerhouse nutrients. Whether you’re a seasoned gardener or just starting out, cultivating kale in your garden is a rewarding experience that offers beauty and nutrition. In this guide, we’ll walk you through everything you need to know about growing kale successfully.

Before planting, consider the kale variety that suits your taste preferences and growing conditions. At Back Home on the Farm, varieties include Rainbow Candy Crush, Prizm, Kalebration, and Winterbor. Each variety provides a unique flavor profile and visual appeal, so choose one that best suits your culinary and aesthetic preferences.

Kale thrives in cool weather, making it an excellent choice for spring and fall gardens. It prefers full sun but can tolerate partial shade, especially in hotter climates. Ensure that your soil is well-drained and rich in organic matter. Aim for a soil pH between 6.0 and 7.5 for optimal growth.

Plant kale seeds directly into the garden bed or start with seedlings for a head start. Sow seeds 1/4 to 1/2 inch deep, spacing them 12 to 18 inches apart. If transplanting seedlings, space them similarly. Water the seeds or seedlings thoroughly after planting to help establish their roots.

Kale is relatively low-maintenance but benefits from regular watering, especially during dry spells. Keep the soil moist, but avoid overwatering, as kale roots can rot in waterlogged soil. Mulching around the plants can help retain moisture and suppress weeds.

Fertilize kale plants with a balanced fertilizer once a month to promote healthy growth. Monitor plants for pests such as aphids, cabbage worms, and flea beetles. Handpick any pests or use organic insecticidal soap to keep them at bay.

One of the best things about growing kale is its continual harvest. Begin harvesting outer leaves when they reach your desired size, typically around 8 to 10 inches long. Use a sharp knife or scissors to cut the leaves above the central stem. Regular harvesting encourages new growth and prolongs the harvest period.

Once you’ve harvested your kale, it’s time to enjoy its nutritional benefits in various culinary delights. Add fresh kale leaves to salads, sauté them with garlic and olive oil, or blend them into smoothies for a nutritious boost. You can also preserve kale by blanching and freezing it for later use.

Visit our blog for more tasty recipes and gardening tidbits!