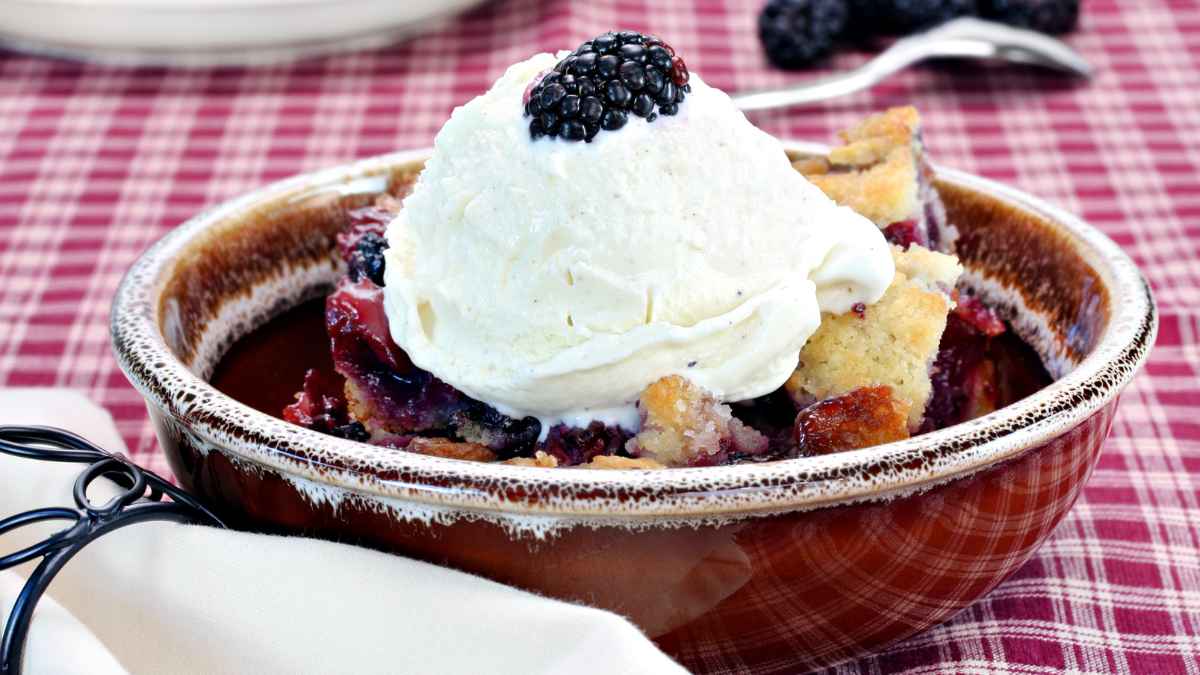
Easy Blackberry Cobbler

Summer is the perfect time to enjoy the bounty of fresh berries, and there’s no better way to celebrate the season than with a delicious blackberry cobbler.

You’ll need:

  • 1 cup all-purpose flour
  • 1 ½ cups white sugar, divided
  • 1 teaspoon baking powder
  • ½ teaspoon salt
  • 6 tablespoons cold butter, cut into pieces
  • ¼ cup boiling water
  • 2 tablespoons cornstarch
  • ¼ cup cold water
  • 4 cups fresh blackberries, rinsed and drained
  • 1 tablespoon lemon juice

To make:

  1. Preheat Your Oven: Preheat your oven to 400 degrees.
  2. Prepare the Dough: In a large bowl, mix together the flour, ½ cup of sugar, baking powder, and salt. Cut in the cold butter using a pastry cutter until the mixture resembles coarse crumbs. Gradually stir in the boiling water until the mixture is evenly moist. Set aside.
  3. Prepare the Filling: In a separate bowl, dissolve the cornstarch in the cold water. Add the remaining 1 cup of sugar, fresh blackberries, and lemon juice. Mix well.
  4. Cook the Filling: Transfer the blackberry mixture to a cast iron skillet and bring to a boil over medium heat, stirring frequently. Once it starts boiling, reduce the heat and let it simmer for a few minutes.
  5. Combine and Bake: Drop spoonfuls of the dough mixture over the hot blackberry filling. Place the skillet on the prepared baking sheet to catch any drips, and transfer it to the preheated oven.
  6. Bake: Bake for about 25 minutes until the dough is golden brown and the blackberry filling is bubbly.
  7. Cool and Serve: Allow the cobbler to cool slightly before serving. For an extra treat, enjoy it warm with a scoop of vanilla ice cream or a dollop of whipped cream!

Visit our blog for more tasty recipes and gardening tidbits!

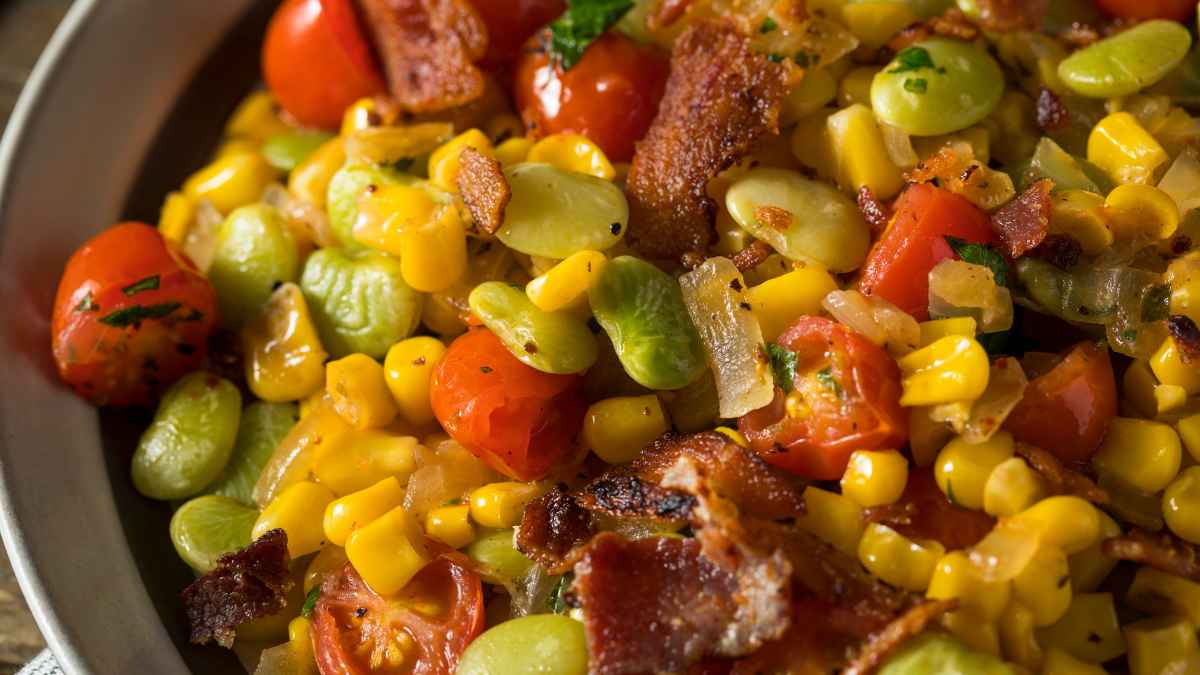
Summer Succotash with Bacon

Made with salty bacon, fresh tomatoes, and bright herbs, this easy succotash recipe creates a delicious summer side dish.

You’ll need:

  • 6 slices bacon, sliced
  • 2 green onions, sliced
  • 4 corn cobs, husked and kernels cut from the cob
  • 2 cups cherry tomatoes, halved
  • ¼ cup sliced chives
  • ¼ cup sliced basil
  • ½ cup crumbled feta
  • 1 tablespoon white wine vinegar or lemon juice
  • Pinch of salt and pepper

To make:

Cook the Bacon: In a large skillet over medium-high heat, cook the bacon until crispy. Remove the bacon from the skillet and set it on a paper towel-lined plate. Remove excess bacon grease, leaving about 2 tablespoons in the skillet.

Cook the Vegetables: Add the green onions and corn to the skillet and cook until soft, about 3-5 minutes.

Combine Ingredients: Remove the skillet from heat and add the tomatoes, chives, basil, feta, and white wine vinegar or lemon juice. Stir in the bacon just before serving so it remains crispy. Season to taste with salt and pepper.

Serve: This dish can be served warm or at room temperature.

Visit our blog for more tasty recipes and gardening tidbits!
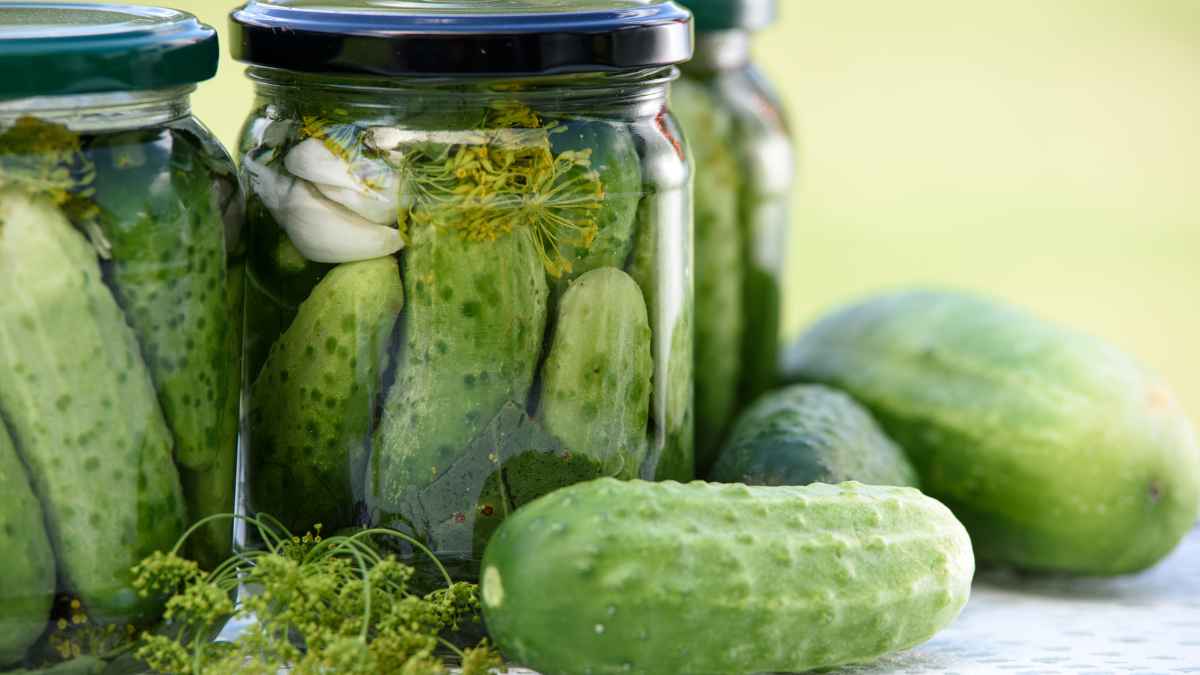
Pickles Made Easy

Pickling cucumbers is a great way to preserve the freshness of summer and enjoy the tangy crunch of pickles year-round. Whether you prefer classic dill pickles, sweet bread-and-butter pickles, or spicy variations, pickling cucumbers at home is easier than you might think. Here’s a guide to help you get started on pickling.

Choosing the Right Cucumbers
For the best pickles, choose cucumbers that are:
Small to Medium-Sized: About 4-6 inches long, firm, and blemish-free.
Fresh: Pick freshly harvested cucumbers for the best texture and flavor.
Pickling Varieties: While you can pickle any cucumber, pickling varieties like Kirby or Persian cucumbers hold up better during the pickling process.

You’ll need:

  • Cucumbers: Fresh, firm cucumbers.
  • Vinegar: White vinegar or apple cider vinegar for a tangy flavor.
  • Water: To dilute the vinegar.
  • Salt: Pickling salt or kosher salt (avoid iodized salt).
  • Sugar: Optional for sweet pickles.
  • Spices: Dill seeds, mustard seeds, peppercorns, and garlic are expected. For a spicy kick, you can also add red pepper flakes.
  • Fresh Dill: For dill pickles.
  • Jars: Clean, sterilized jars with lids.

To make:

  • Prepare the cucumbers by washing them thoroughly and trimming off the ends. Cut the cucumbers into desired shapes, such as spears or slices, or leave them whole for baby pickles.
  • To make the brine, combine vinegar and water in a saucepan. Add salt (about 2 tablespoons per quart of liquid) and sugar if making sweet pickles. Bring the mixture to a boil, stirring to dissolve the salt (and sugar).
  • Place spices, garlic, and fresh dill at the bottom of each sterilized jar.
  • Pack the cucumbers tightly into the jars.
  • Pour the hot brine over the cucumbers, leaving about 1/2 inch of headspace.

Seal and process the jars:

  • Wipe the rims of the jars with a clean cloth to ensure a good seal.
  • Place the lids on the jars and screw on the bands until fingertip tight.
  • Process the jars in a boiling water bath for 10-15 minutes for shelf-stable pickles.
  • If you prefer refrigerator pickles, skip the water bath and store the jars in the fridge.

Allow the pickles to sit for at least 24 hours to develop flavor, but they taste best after a week. For fermented pickles, leave the jars at room temperature for 1-2 weeks, then refrigerate.

Visit our blog for more tasty recipes and gardening tidbits!
Herb-Marinated Steak

Herb marinades are a game-changer for steak lovers! Infusing steak with a blend of fragrant herbs adds a rich depth of flavor. The marinade’s acidity helps tenderize the steak, making it juicy and succulent. Pick up a variety of fresh herbs here at Back Home on the Farm. 

You’ll need:

  • 1 cup fresh basil
  • 3 scallions thinly sliced
  • tablespoons fresh thyme
  • tablespoons fresh mint
  • cloves garlic
  • jalapeno seeded and sliced
  • 2 ½ teaspoons salt
  • lemon lemon zest
  • ½ lemon lemon juice
  • ¼ cup olive oil
  • 2½ lbs steaks

To make: 

Combine all ingredients except the steaks and place them in a food processor, then pulse until a paste forms.

Pat the meat dry and place it in a shallow baking dish or a freezer bag. Cover the meat with the marinade and refrigerate it for at least 30 minutes or overnight.

When ready to cook, heat the grill to high. Use a paper towel to pat the meat dry, leaving on as much paste as possible. Grill over direct heat or under the broiler until browned on both sides, about 3-6 minutes per side if 1 to 11/4 inches thick and 6-9 minutes if 2 inches thick. Let rest for 5-10 minutes.

Visit our blog for more tasty recipes and gardening tidbits!

Mini Spinach and Egg Frittatas

We love quick, nutritious breakfasts that we can grab before we begin our busy days here at Back Home on the Farm. These Spinach and Parmesan Egg Muffins are delicious and packed with protein and veggies to kickstart your day. They’re also a perfect way to use all that spinach you grew in your garden. 

You’ll need:

  • 4 large eggs
  • 4 large egg whites
  • 1/2 cup 2% milk
  • 4 cups fresh spinach (roughly chopped if putting in muffin tins)
  • 1/2 cup Parmesan cheese
  • 1/2 teaspoon kosher salt
  • 1/4 teaspoon coarse ground black pepper
  • 1/4 teaspoon paprika

To make:

  1. Preparation: Start by preheating your oven to 450 degrees. This high temperature ensures your muffins get that golden-brown top. While waiting for the oven to heat up, generously spray a muffin tin with vegetable oil spray to prevent sticking.
  2. Mix Ingredients: Whisk the eggs and egg whites in a large bowl. Add the milk, chopped spinach, grated Parmesan cheese, and the seasonings (salt, pepper, and a dash of paprika). Whisk all the ingredients until well combined. 
  3. Bake: Pour the egg mixture into the muffin tins, filling them about 2/3 of the way. Slide the tray into the oven and bake for 15-18 minutes. You’ll know they’re done when they are firm to the touch and golden brown on top.

Serving Suggestions:

These egg muffins can be served warm right out of the oven or stored in the refrigerator for up to a week. Reheat them in the microwave for a quick breakfast. They’re also perfect for a protein-packed snack after a workout. Pair them with a small salad or fruit for a balanced meal.

Serve and enjoy!

Visit our blog for more tasty recipes and gardening tidbits!