Succulent Growth Season

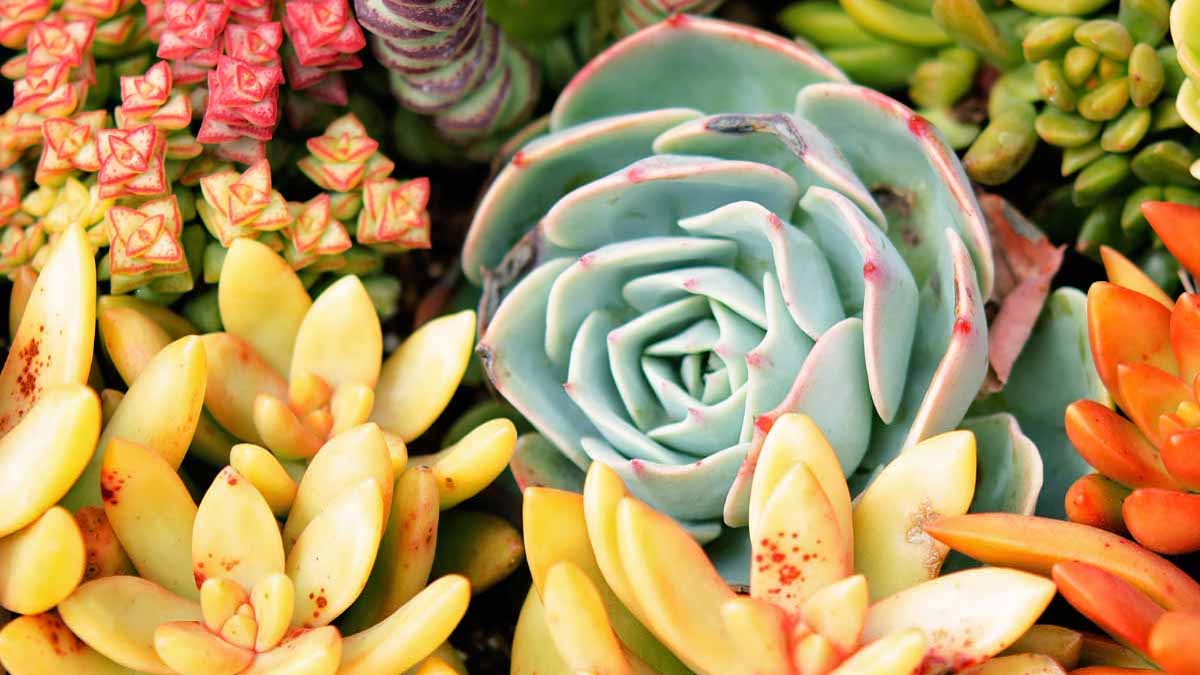
Have you noticed that your succulents are getting taller and bushier? That’s an in-your-face sign that it’s succulent growing season. This growth generally starts in late May and continues on through September. Here are a few tips on taking advantage of this period. 

Fertilizer! Most succulents don’t need that much fertilizer, but a little bit can help. Water with a well-balanced fertilizer once a month during the growing season will be all they need. 

Lighting! Most succulents need at least half a day to a full day of sunlight. Put those puppies in the window sill to get them their daily dose of sunshine.

Drainage! If you’re planting your succulents in containers, but sure to plant them in cactus soil or add a layer of gravel or rock at the bottom to help improve drainage. This improves airflow as well which also encourages growth.

Visit our blog for more tasty recipes and gardening tidbits!

Cowboy Caviar

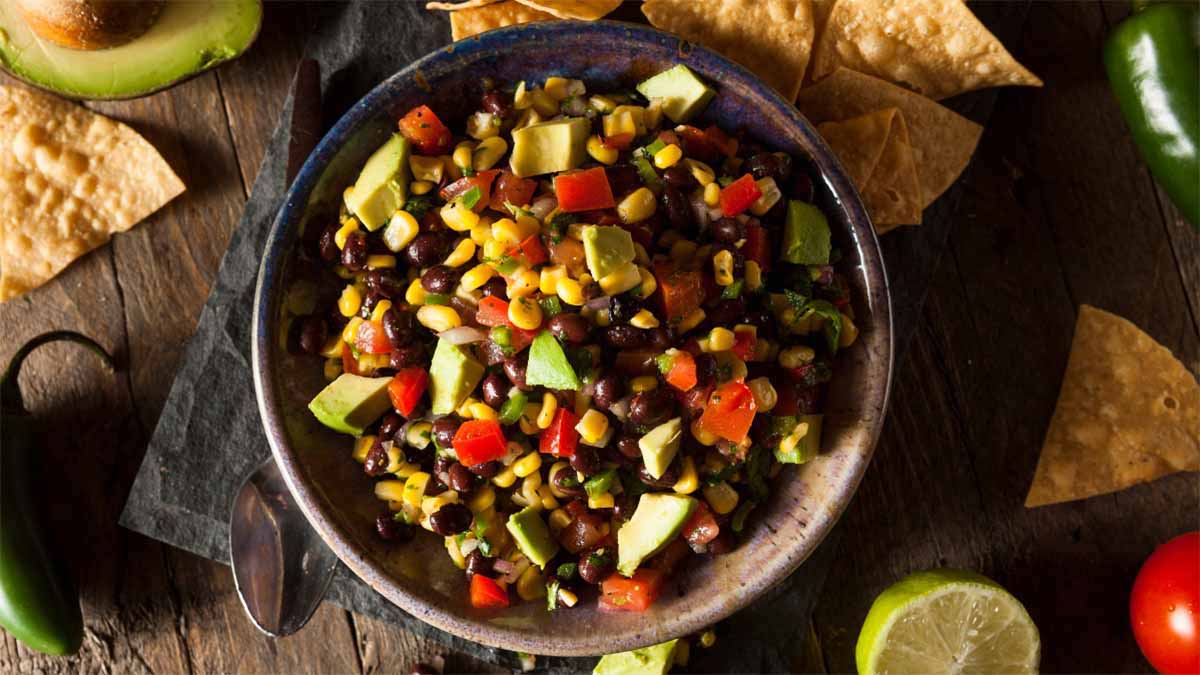
If there’s one recipe perfect for utilizing all those tasty veggies you planted in the Spring, it’s Cowboy Caviar. Loaded with ‘maters, peppers, and herbs, this stuff is downright addicting!

To make:

  • 6 diced Roma tomatoes 
  • 1 bell pepper, seeded and diced
  • 1 med onion, diced
  • 2 jalapeno peppers, seeded and diced
  • 1 large avocado, peeled, pitted and diced
  • 15 oz can of corn, drained
  • 15 oz can of black beans, drained and rinsed
  • ½ cup of cilantro, chopped
  • 3-4 tbsp lime juice 
  • ½ cup light Italian dressing
  • 4 garlic cloves, pressed
  • 1 tsp salt

To make:

In a large bowl, add diced tomatoes, onions, bell peppers, jalapeno, avocado, corn, beans, and cilantro. Combine well. Stir in the lime juice, dressing, garlic, and salt. Mix everything together and serve with chips. That’s it!

Visit our blog for more tasty recipes and gardening tidbits!
August Planting

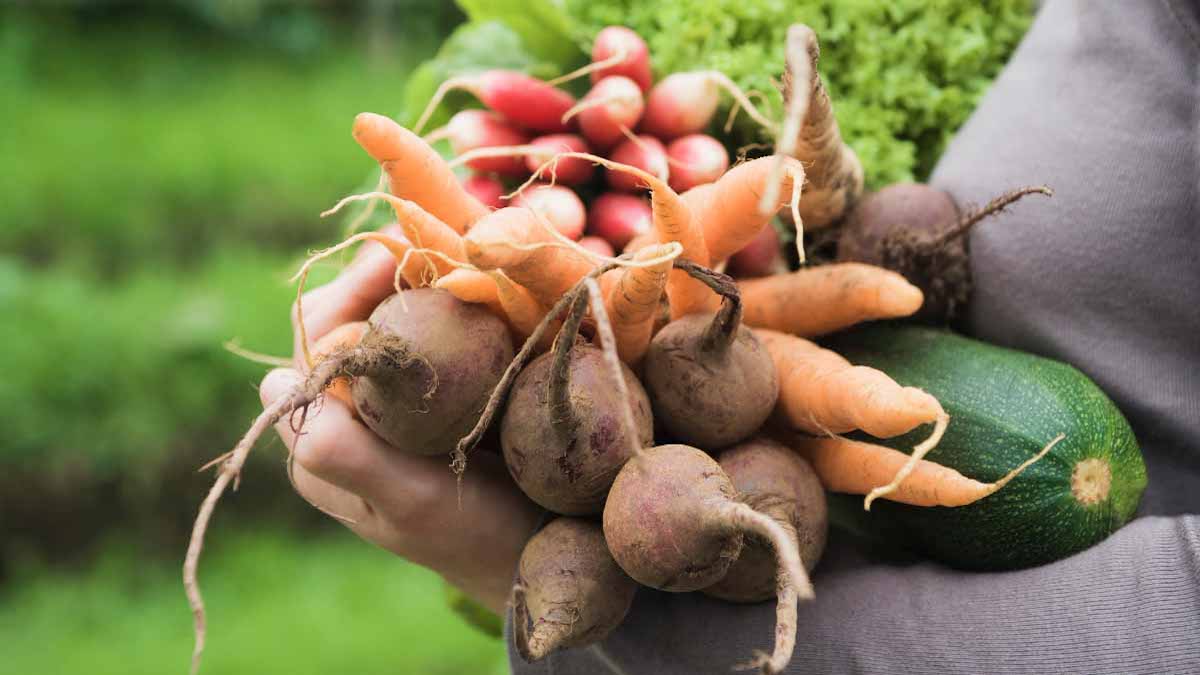
Midsummer is the perfect time to start planting those Fall crops. Here’s a list of the goodies you can get going in your garden!

  • Beets 
  • Broccoli
  • Brussels Sprouts
  • Carrots
  • Kale
  • Peas
  • Peppers (early in August)
  • Radishes
  • Spinach
  • Squash
  • Turnips

Timing! Get those seeds going about 12 to 14 weeks from your first Fall frost. Start your seeds indoors where germination conditions are better. The important thing is to get the plants growing in time to benefit from the end-of-summer heat.

Solid soil! Fall gardens can provide a great opportunity for making your soil super fertile. Greens like arugula, mustard and turnips have larger leaves which are perfect for shading out weeds. The nutrients they absorb in the Fall go back into the soil as well. You can give your soil an additional punch of micronutrients by adding a bit of compost of aged manure. Happy planting!

Visit our blog for more tasty recipes and gardening tidbits!
Soaker Hose Tips

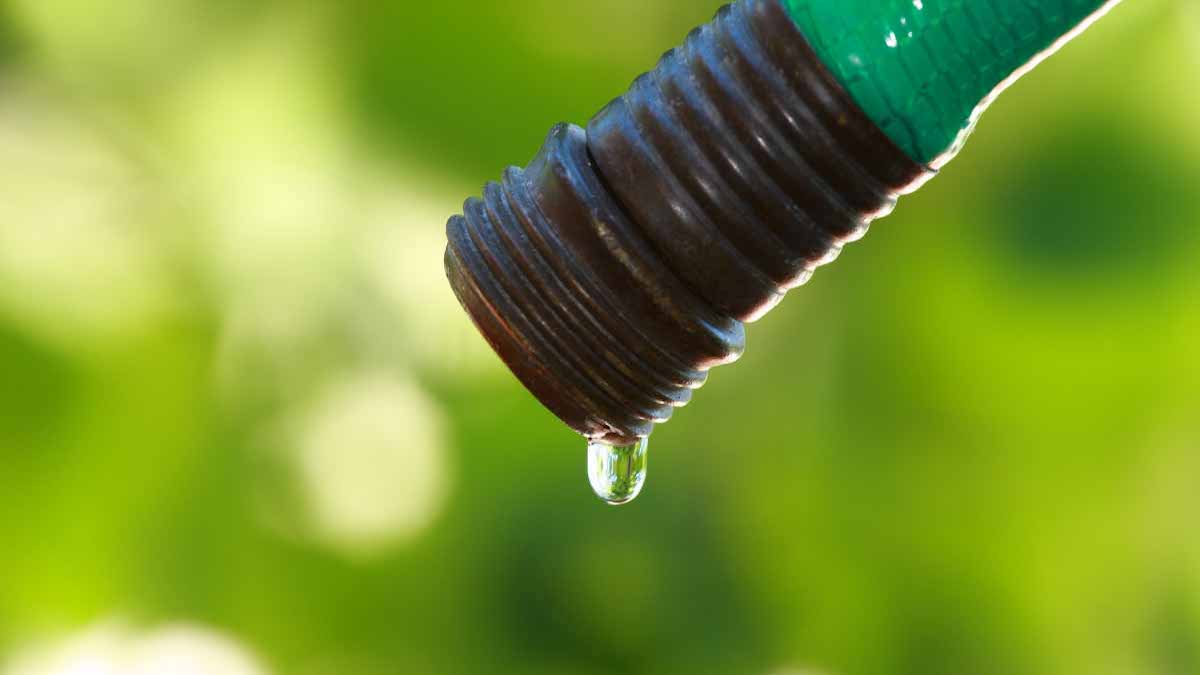
Ensuring that your garden gets adequate water is half the battle. Soaker hoses are an inexpensive and flexible alternative to expensive irrigation systems. They are easy to move around as well making it easier to update your watering system as your garden grows. Soaker hoses enable you to get water to your plants where they need it most…at the root. They save time (no moving around sprinklers or hand watering) and they save money by reducing water loss via evaporation. Follow these tips for soaker hose success. 

Chill Time
Before placing your hose around the plants, unroll the hose and let it relax for a bit. This will reduce kinkage which blocks the flow of water.

Flush It Out
Flush your hose when you first install it and a few more times throughout the season. This will help flush out any potential debris. When you disconnect your soaker hose from it’s water source, plug the open end with a cap to prevent soil or insects from getting into it.

Cover It Up
Cover your soaker hose with 2-3 inches of mulch. This will help retain moisture, reduce evaporation, and protect your hose from sun damage.

Visit our blog for more gardening tips!

Tomato Pie

Tomato Pie is more common in the Carolinas than anywhere else in the country. However, that doesn’t mean everyone else can’t enjoy a slice of this old-school dish on the front porch with a salad and an ice cold glass of sweet tea. 

What you’ll need:

  • 1 pie crust (unbaked)
  • 4-5 sliced tomatoes
  • 1 tsp salt
  • ¼ cup chopped fresh basil leaves
  • ½ cup chopped green onion
  • 1 clove garlic, minced
  • 1 cup grated mozzarella cheese
  • 1 cup grated sharp cheddar cheese
  • ¾ cup mayo 
  • Fresh ground pepper to taste

To make:

Preheat your oven to 375 degrees. Line a baking sheet with a few layers of paper towels. Lay your sliced tomatoes on paper towels in a single layer and sprinkle them with salt to draw out the juices. Let them sit for about 15 minutes and then pat them dry with paper towels. This will prevent a soggy pie (nobody likes a soggy pie). 

Roll out your pie crust and place it in a pie plate (or you can use a frozen pie crust already in a tin). Crimp the edges and poke holes in the bottom of the crust with a fork. Bake the crust for 10 minutes. 

While your crust is baking, combine the basil, green onions and garlic into a bowl and stir. In another bowl, mix together the cheeses and mayo and season with the black pepper. Stir to combine. 

Remove the crust from the oven and layer half the tomatoes on the bottom of the crust. Sprinkle with half of the basil-onion mixture. Layer the remaining tomatoes on top and sprinkle with the remaining basil-onion mixture. Finish by spreading the cheese mixture over the top of the pie.

Reduce the oven temperature to 350 degrees and bake the pie for 30 minutes until the cheese begins to lightly brown. Let it rest for 10 minutes before serving.

Visit our blog for more tasty recipes and gardening tidbits!