Painting pumpkins instead of carving them has tons of perks. Painted pumpkins last longer than carved ones. You don’t have to worry about your little ones and sharp carving tools. Also, you can be as creative as you want to be with glitter, stickers, or whatever else your inner Picasso desires!
Pick a Pumpkin
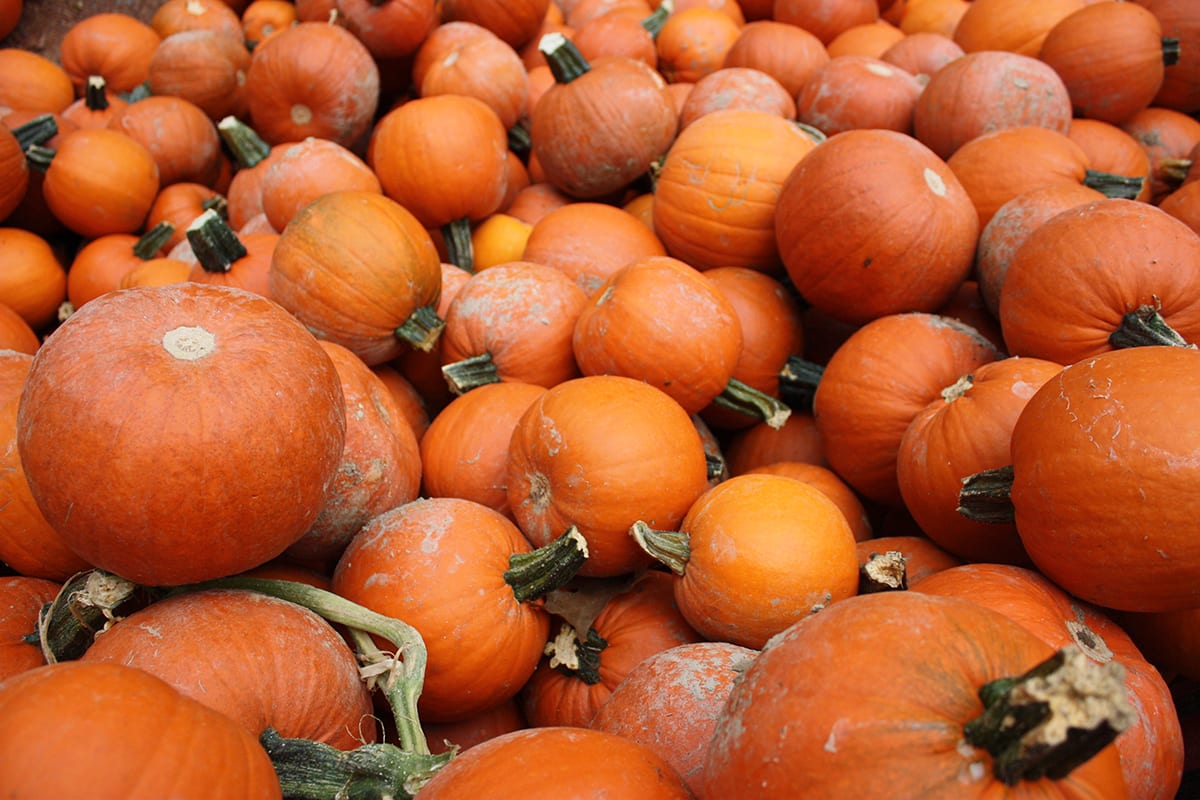
The perfect painting pumpkin has a smooth, even surface. Be sure to choose one without bruises, scratches, and lumps. Unless lumpy is the look you’re going for. Good pumpkin varieties for painting include Baby Pam, Sugar Pie, Lumina, or Cotton Candy. Pick up some awesome ones at Back Home at the Farm!
Clean Your Pumpkin
Use a damp cloth or paper towel to gently remove the dirt and grime from your pumpkin. Avoid using items like rough scrubbing pads as this can damage your pumpkin’s skin and bruise it. Use a soft cloth to thoroughly dry your pumpkin and be sure to keep the stem area dry. A wet stem or blossom (the bottom of your pumpkin) can cause your pumpkin to rot.
Get Artsy
When it comes to pumpkin painting, the design options are limitless! Stencils and stickers are easy options for younger kids while older painters might like to take on more intricate designs.
Pumpkin Painting Tools
Acrylic paint is a great option for painting pumpkins as it dries quickly and allows you to paint over the first layer in a short time period. Go-to painting tools include cheap paint brushes, cotton swabs, sponges, and cotton balls. A damp cloth works great for wiping away any mistakes.
Decorate!
Make your pumpkin shine with fun embellishments like glitter, sequins, pom poms, or rhinestones. Add googly eyes to create faces! Incorporate glow-in-the-dark paint to make your pumpkin stand out at night!
Visit us on Pinterest for fun design ideas!