Pumpkin Scones

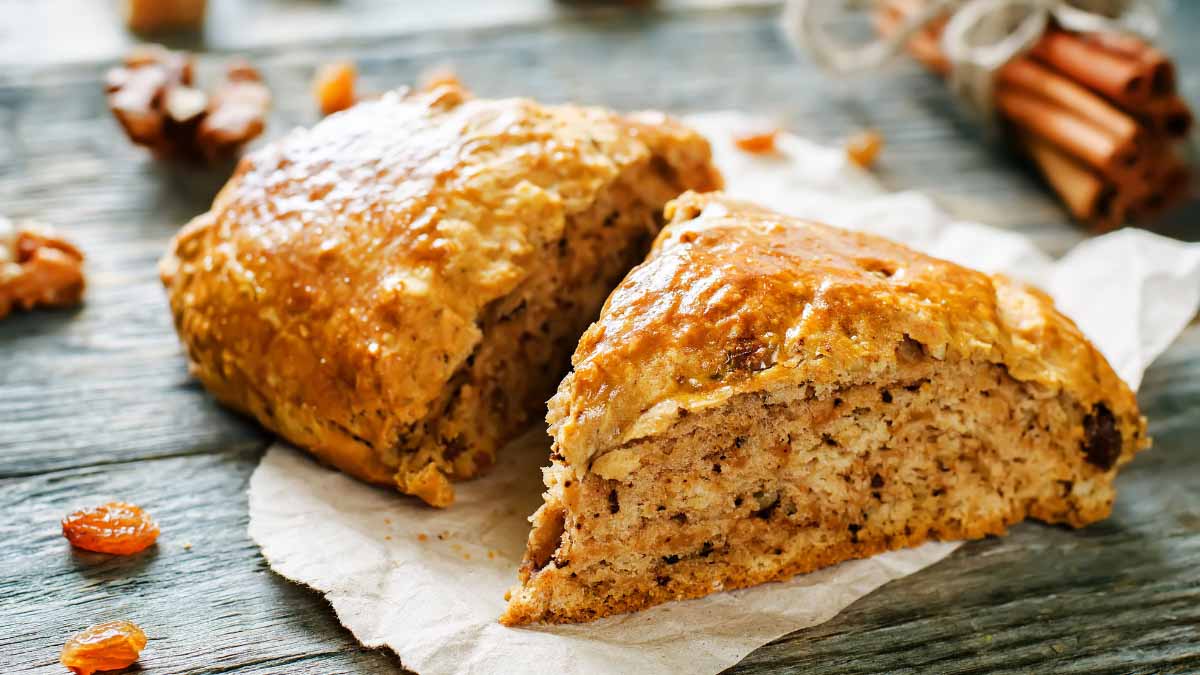
What better way to enjoy a cool, crisp Fall morning that with scones fresh from the oven. Why, we’re drooling just writing this blog!

You’ll need:

  • 2 cups all-purpose flour
  • 1/4 cup sugar
  • 1/4 cup light brown sugar 
  • 2 teaspoons baking powder
  • 2 teaspoon pumpkin spice
  • ½ teaspoon cinnamon
  • 1/2 teaspoon salt
  • 1/2 cup unsalted butter cold or frozen cut into pieces
  • 1/4 cup heavy cream
  • 1/3 cup pumpkin puree 
  • 1 teaspoon vanilla extract
  • Coarse sugar for sprinkling

To make:

Preheat oven to 375 degrees. In a food processor, combine flour, sugars, baking powder, pumpkin spice, cinnamon, and salt. Pulse until ingredients are well combined. Sprinkle butter pieces over the top of the flour mixture and pulse until mixture becomes fine crumbs.

In a large measuring cup, whisk together heavy cream, pumpkin puree, and vanilla extract until smooth. Pour pumpkin/cream mixture over flour/butter mixture in food processor and pulse until mixture begins to clump.

Carefully turn dough out onto lightly floured surface. Fold the dough in half over itself and use your hands to gently flatten layers together. Rotate the dough and fold in half again, repeating this step 5 times (don’t overwork the dough). Form into a disk about 6 inches wide.

Using a large knife, cut dough into 8 wedges pressing knife straight down (don’t saw). Place scones 2 inches apart on a parchment paper lined cookie sheet. Brush each scone with heavy cream and sprinkle with coarse sugar.

Transfer to oven and bake for 17 minutes. Enjoy!

Visit our blog for more Fall fun!

Enjoy corny Fall family fun in the country with 7-acre pumpkin patch, more than 40+ attractions and activities … and lots of good things to eat!

Repurposed Jack O’Lanterns

Halloween is over and it’s time to put that Jack-O-Lantern to better use. At Back Home on the Farm, we smash all pumpkins at the end of the season and give the bits to our farm critters. Here are some great ways to reuse your holiday pumpkins!

Awesome Compost
Turn your decaying Jack-O-Lanterns into plant-loving compost for your garden. Begin by removing all candles or battery-operated tea lights along with any other decorations attached to the pumpkin (ribbons, googly eyes, etc.). Please note, pumpkins that have been painted, coated in sealant, or covered in glitter cannot be composted. Be sure to remove all the pumpkin seeds as well. No need to start a pumpkin patch in your compost bin!

Fall Feeder
Hollow out one side of your leftover pumpkin and fill with bird seed. If you have a bunch of baby pumpkins, you can tie a bit of cord at the top and hang the small feeders from trees in your yard. The birds will LOVE them!

Critter Treats
Do you have cows, goats, pigs? Maybe just wild birds and squirrels? All kinds of animals would be very happy to munch on your leftover pumpkins.Our farm animals LOVE pumpkins! Pumpkins are an excellent source of source of vitamin E, iron, magnesium, potassium, zinc and essential fatty acids. 

Visit our blog for more fun pumpkin tips!

Decorating Pumpkins

Painting pumpkins instead of carving them has tons of perks. Painted pumpkins last longer than carved ones. You don’t have to worry about your little ones and sharp carving tools. Also, you can be as creative as you want to be with glitter, stickers, or whatever else your inner Picasso desires!

Pick a Pumpkin
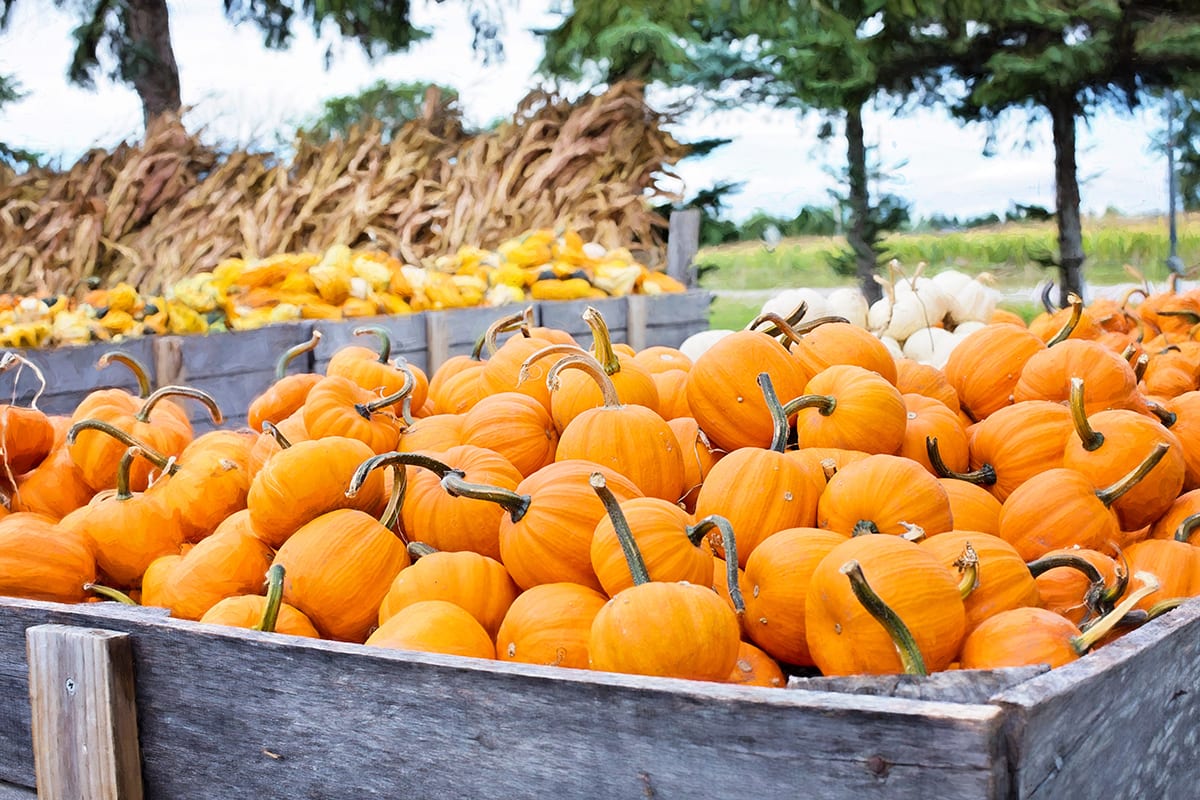
The perfect painting pumpkin has a smooth, even surface. Be sure to choose one without bruises, scratches, and lumps. Unless lumpy is the look you’re going for. Good pumpkin varieties for painting include Baby Pam, Sugar Pie, Lumina, or Cotton Candy. Pick up some awesome ones at Back Home at the Farm!

Clean Your Pumpkin
Use a damp cloth or paper towel to gently remove the dirt and grime from your pumpkin. Avoid using items like rough scrubbing pads as this can damage your pumpkin’s skin and bruise it. Use a soft cloth to thoroughly dry your pumpkin and be sure to keep the stem area dry. A wet stem or blossom (the bottom of your pumpkin) can cause your pumpkin to rot.

Get Artsy
When it comes to pumpkin painting, the design options are limitless! Stencils and stickers are easy options for younger kids while older painters might like to take on more intricate designs.

Pumpkin Painting Tools
Acrylic paint is a great option for painting pumpkins as it dries quickly and allows you to paint over the first layer in a short time period. Go-to painting tools include cheap paint brushes, cotton swabs, sponges, and cotton balls. A damp cloth works great for wiping away any mistakes.

Decorate!
Make your pumpkin shine with fun embellishments like glitter, sequins, pom poms, or rhinestones. Add googly eyes to create faces! Incorporate glow-in-the-dark paint to make your pumpkin stand out at night!

Visit us on Pinterest for fun design ideas!