Carve the Perfect Pumpkin

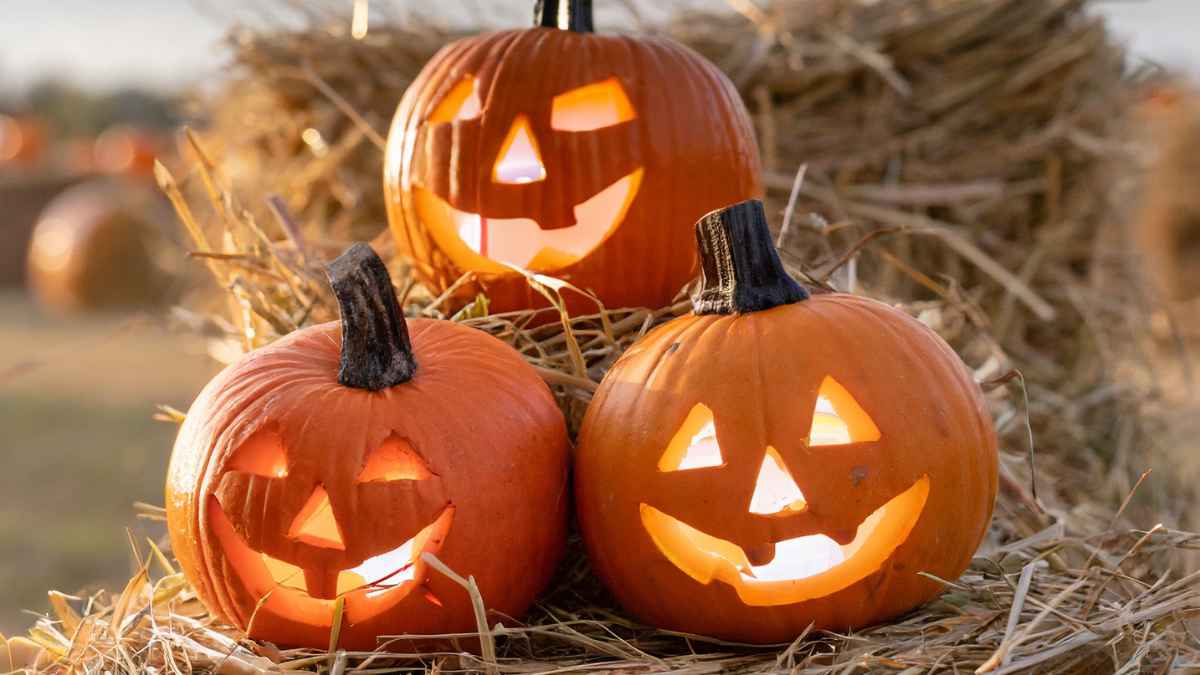
Pumpkin Carving Made Easy for Fall and Halloween

With the impending spookiness of Halloween, it’s time to embrace the season and get creative with some pumpkin carving. Here are some fantastic tips for crafting Jack O’ Lanterns that will impress your neighbors and keep your porch looking aMAZEing.

Tip 1: Choose the Perfect Pumpkin

The first step to creating a stunning Jack O’ Lantern is selecting the right pumpkin. Look for one with a flat bottom to prevent it from rolling around on your porch. Ensure it’s fresh with a solid stem and no signs of bruising. There’s a wide variety of carving pumpkins to choose from, such as the classic Jack, Kratos, Gladiator, and Early King. And don’t forget about some unique options like Polar Bear and New Moon, which are white carving varieties. We have 60+ pumpkin varieties here at Back Home on the Farm.

Tip 2: Cut with Precision

Ever experienced the frustration of cutting the top off a pumpkin only to find yourself plunging into a gooey mess? Say goodbye to that sticky situation by cutting the lid at an angle. This clever technique will make it much easier to access the interior of the pumpkin without the mess.

Tip 3: Equip Yourself with the Right Tools

Having the right tools is essential for achieving your pumpkin carving goals. A keyhole saw is one of the best options for cutting the lid off a pumpkin. Its sharp teeth can effortlessly slice through the thick pumpkin shell, and the flexible blade makes it perfect for creating curved cuts. Other handy tools for your carving adventure include hole cutters, wood gauges, and even a power drill. For scooping out the pulp, melon ballers or ice cream scoops work like a charm.

Tip 4: Keep Your Creation Fresh

Nothing’s worse than investing time and effort into carving a pumpkin only to watch it rot away within a few days. To keep your masterpiece fresh and vibrant until Halloween, apply a thin layer of petroleum jelly to the cut edges. If your pumpkin starts to shrivel, you can revive it by soaking it in cold water for up to 8 hours.

Visit us on Pinterest for more fun ideas!

Make the most of this fall season by visiting our farm, where you can enjoy heaps of fun activities!

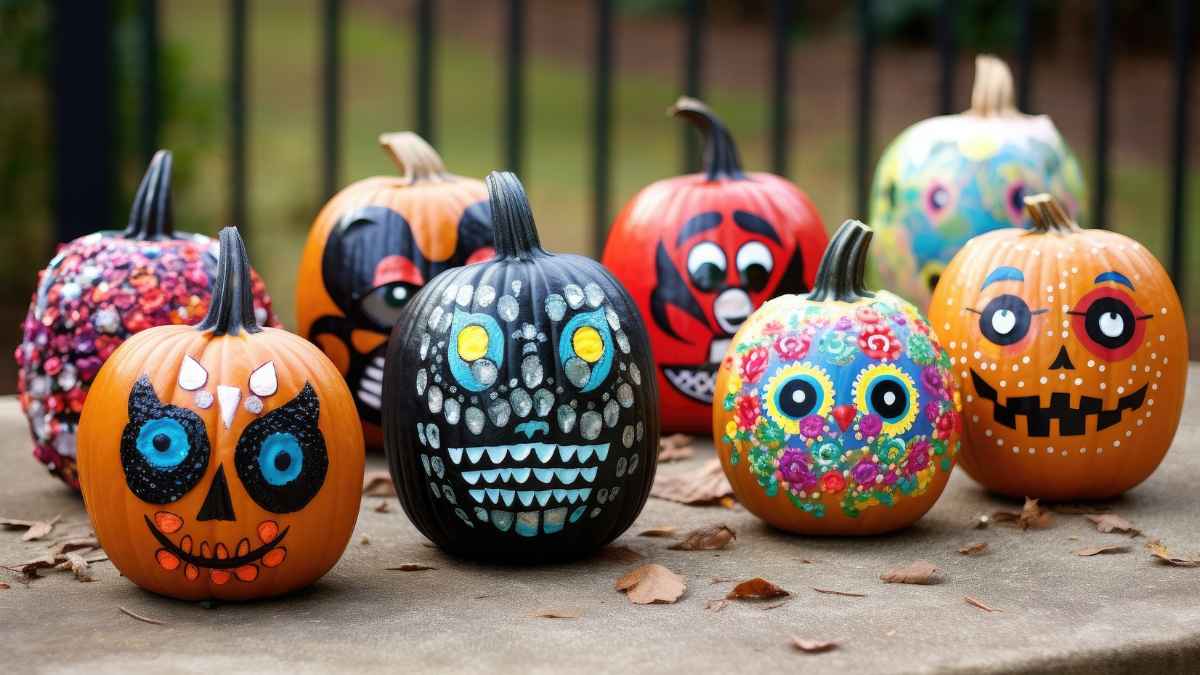
Painting Pumpkins

Painting pumpkins instead of carving them has several perks. For one, painted pumpkins last way longer than carved ones do. You don’t have to worry about the kids hurting themselves with sharp objects. Also, you can be as creative as you want to be with glitter, stickers, or whatever else your inner Picasso craves!

Picking the Right Pumpkin
The perfect painting pumpkin has a smooth, even surface. Be sure to choose one without bruises, scratches, and lumps. We have Jacks and Gladiators if you want BIG pumpkins. We also have Munchkins if you want tiny pumpkins for your tiny toddlers. If lumpy is what you’re going for, we have Warty Goblins which look really cool!

A Good Cleaning
To clean your pumpkin, you can use a damp cloth or paper towel to gently remove the dirt and grime. Avoid using items like rough kitchen scrubbers as these can damage your pumpkin’s skin. Use a soft cloth to thoroughly dry your pumpkin and be sure to keep the stem area dry. A wet stem or blossom (the bottom of your pumpkin) can cause your pumpkin to rot.

Let Your Fancy Flow!
When it comes to pumpkin painting, the creative options are endless! Stencils, markers, and stickers are easy options for younger kids.

Pumpkin Painting Tools
Acrylic paint is a great option for painting pumpkins as it dries quickly and allows you to paint over the first layer in a short time period. Go-to painting tools include cheap paint brushes, cotton swabs, sponges, and cotton balls.
Mom Tip: Put down a cheap vinyl tablecloth or some newspapers to protect your furniture from paint spills.

Gussy ’em Up!
Make your pumpkin shine with fun embellishments like glitter, sequins, pom poms, or rhinestones. Add googly eyes to create faces! Incorporate glow-in-the-dark paint to make your pumpkin stand out at night!

Check out our Pinterest boards for creative inspiration! We look forward to seeing you here at the farm for all of our Fall fun!

We can’t wait to welcome you to the farm for a fantastic fall experience!

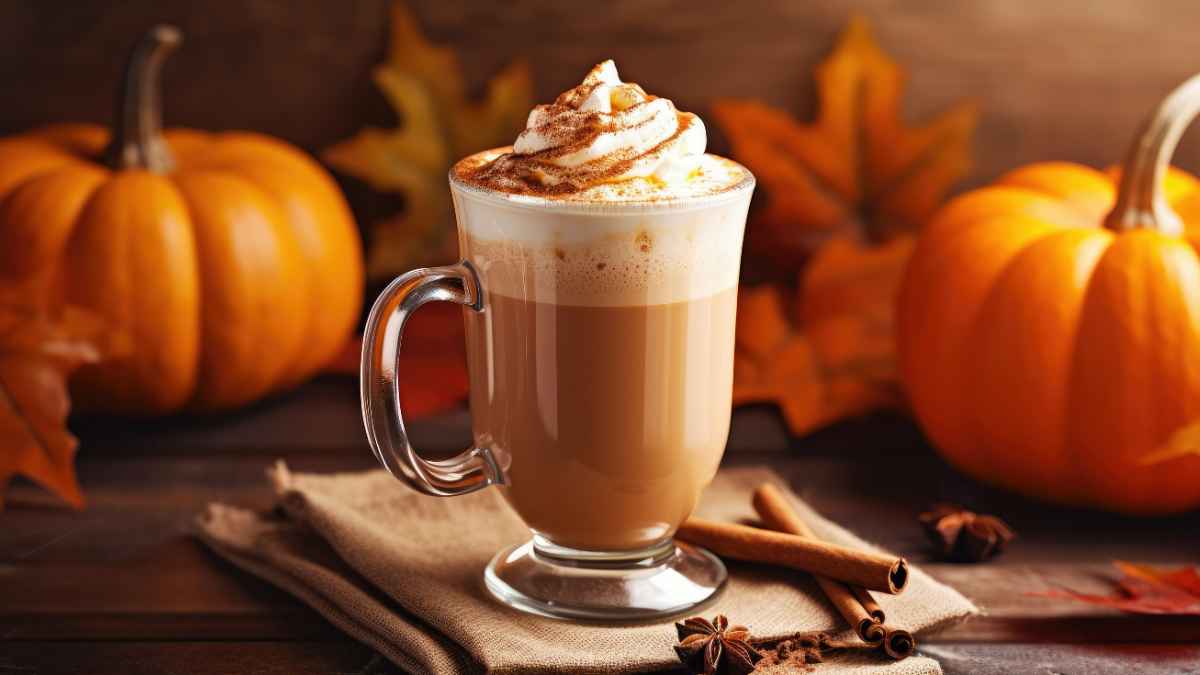
Pumpkin White Hot Chocolate

Sip Into Fall with Pumpkin White Hot Chocolate

As the leaves turn golden and the air carries a slight chill, it’s time to welcome the cozy flavors of fall. Ditch the high prices at the coffee shop and opt for a homemade experience that won’t break the bank. The Pumpkin White Hot Chocolate recipe is easy to make. With just a handful of ingredients, you can create a decadent treat that rivals any professional barista’s creation.

What you need:

  • Pumpkin Purée
  • Pumpkin pie spice
  • Cinnamon sugar
  • Vanilla extract
  • White Chocolate Chips
  • Milk
  • Heavy Cream
  • Whipped Cream (optional)

Directions:

  1. In a medium saucepan, combine the pumpkin purée, pumpkin pie spice, vanilla extract, milk, and heavy cream.
  2. Stir until the ingredients are well mixed and heat the mixture over medium heat.
  3. Once the mixture starts to boil, add in the white chocolate chips.
  4. Stir until the white chocolate has completely melted.
  5. Pour mixture into your favorite mug, top with a dollop of whipped cream, a sprinkle of cinnamon sugar, and enjoy!

Visit our blog for more tasty recipes!

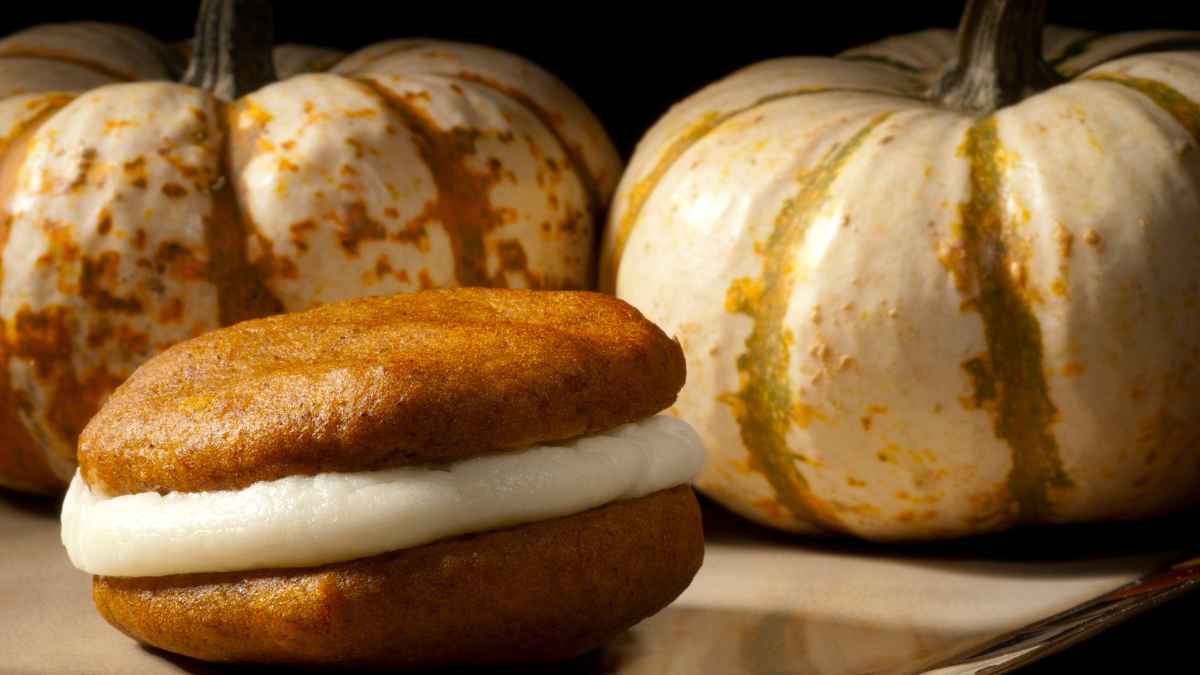
Pumpkin Whoopie Pies

Try This Decadent Fall Treat!

As the leaves begin to turn and the crisp autumn breeze fills the air, it’s time to indulge in the comforting flavors of fall. What better way to celebrate the season than with Pumpkin Whoopie Pies? These delightful sandwich cookies combine the warmth of pumpkin with the tangy goodness of cream cheese frosting. Whether you’re a pumpkin enthusiast or simply seeking a scrumptious treat, these whoopie pies are sure to become a family favorite. Let’s dive into how to create these irresistible pumpkin delights!

What Are Whoopie Pies? Whoopie pies are a delightful dessert originating from the Northeastern United States. They consist of two soft, cake-like cookies that sandwich a luscious layer of frosting. The result is a portable, hand-held treat that’s as fun to make as it is to eat!

You Will Need:

  • 2 cups all-purpose flour
  • 1 teaspoon baking powder
  • 1/2 teaspoon baking soda
  • 1/2 teaspoon salt
  • 1 teaspoon ground cinnamon
  • 1/2 teaspoon ground ginger
  • 1/4 teaspoon ground cloves
  • 2 large eggs
  • 1 cup brown sugar (packed)
  • 1/2 cup canola oil (or vegetable oil)
  • 1 cup pumpkin puree (not pumpkin pie filling)

Cream Cheese Filling:

  • 8 oz cream cheese (softened)
  • 1/4 cup unsalted butter (softened)
  • 2 cups powdered sugar
  • 1 teaspoon vanilla extract

Instructions:

1. Preparing the Pumpkin Cookies:

  • Preheat your oven to 350°F (175°C) and line baking sheets with parchment paper.
  • In a medium bowl, whisk together the flour, baking powder, baking soda, salt, cinnamon, ginger, and cloves.
  • In a separate large bowl, beat the eggs until well combined. Add in the brown sugar, canola oil, and pumpkin puree. Mix until smooth.
  • Gradually incorporate the dry ingredients into the wet mixture, stirring until fully combined.
  • Using a cookie scoop or spoon, drop rounds of batter onto the prepared baking sheets, leaving about 2 inches of space between each.
  • Bake in the preheated oven for about 11 minutes or until the cookies are set and slightly springy to the touch.
  • Once baked, remove from the oven and allow the cookies to cool on a wire rack.

2. Making the Cream Cheese Filling:

  • In a standing mixer, combine the softened cream cheese and butter until smooth and creamy.
  • Gradually add in the powdered sugar, mixing on low speed until well incorporated.
  • Stir in the vanilla extract, ensuring the filling is well combined and velvety.

3. Assembling the Pumpkin Whoopie Pies:

  • Match up pairs of cookies that are similar in size and shape.
  • Using a piping bag or a spoon, place a generous dollop of the cream cheese filling onto the flat side of one cookie in each pair.
  • Gently press the flat side of the second cookie onto the cream cheese filling to create a sandwich.
  • Repeat this process for all the cookie pairs.

4. Storing and Freezing:

  • To enjoy your Pumpkin Whoopie Pies within a couple of days, store them in an airtight container at room temperature. For longer storage, keep them in the refrigerator for up to a week.
  • To freeze, wrap each whoopie pie tightly in plastic wrap and then in aluminum foil. Frozen whoopie pies can be enjoyed for several months. Thaw in the refrigerator overnight before indulging.

Make sure you stop by the Country Store while you’re here at the farm to try one of our delicious Whoopie Pies. Visit our blog for more tasty recipes!

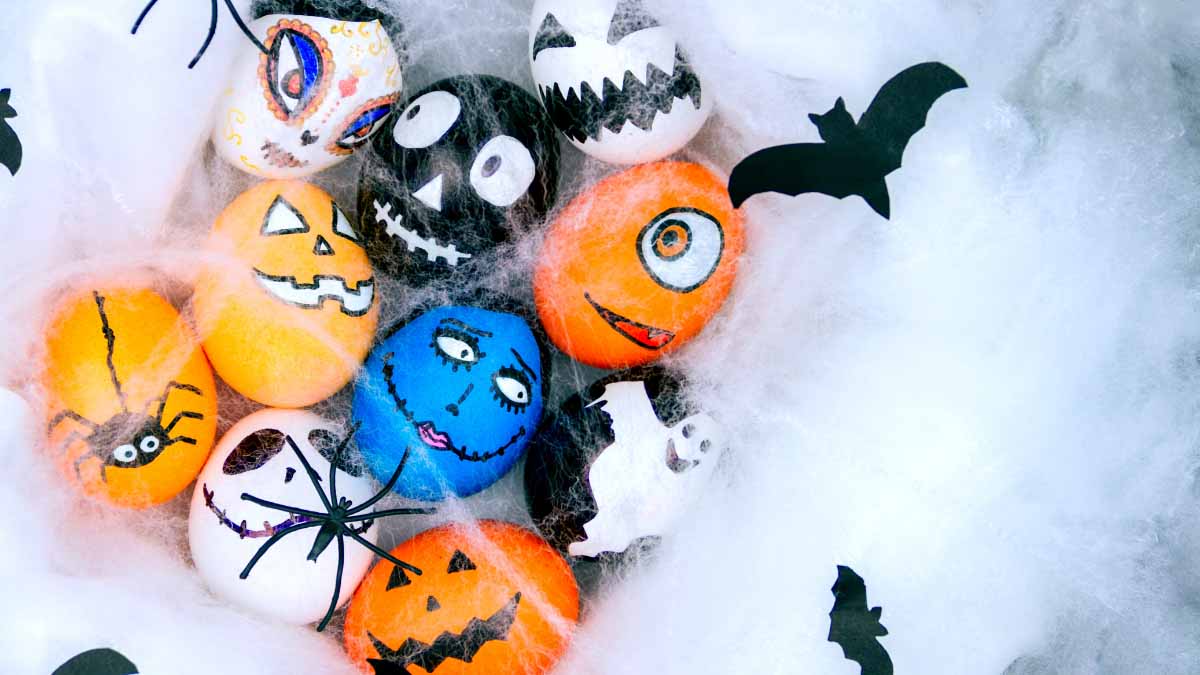
Spooky Rocks

Fall is an amazing time for nibbling pumpkin treats, scrunching crunchy fallen leaves, and soaking up cozy family time. Get the kiddies gathered around the kitchen table and paint some fun Fall rocks for the yard!

You’ll need:

  • Smooth rocks
  • Acrylic craft paint
  • Paint pens
  • Clear sealer spray

To paint:

Before painting, you’ll want to prep your rocks by cleaning them thoroughly. Once dry, you and your little ones cam paint ghosts, goblins, pumpkins and more. Once the paint dries, spray the rocks with a clear sealer spray and allow to dry at least 24 hours.

Visit our blog for more Fall fun!

Enjoy corny Fall family fun in the country with 7-acre pumpkin patch, more than 40+ attractions and activities … and lots of good things to eat!